
|
Do it yourself
| |||
| ||||


An emergency way to remove the fuses from our car.
Model: (Various brands) Various
What we see in the video is a well-known emergency trick among mechanics and enthusiasts. You just need to have a burnt fuse of the same size as the one you intend to remove on hand, and gently break it so that you have only half of its plastic casing, with the two internal metal blades exposed. Do not use an intact fuse. The trick works because the burnt fuse already has the two metal blades separated internally. An intact fuse would create a short circuit. We insert the two blades of the burnt fuse over the plastic body of the fuse to be removed, one on each side; we tighten the metal blades around the plastic of the good fuse, and the grip will be firm. We pull upwards decisively: the blades will act like a pair of pliers, exerting an even grip on both sides and removing the fuse without damaging it.
Posted on 16 January 2026 by ScegliAuto
Video tutorial
Related tutorials
(Various brands) Various
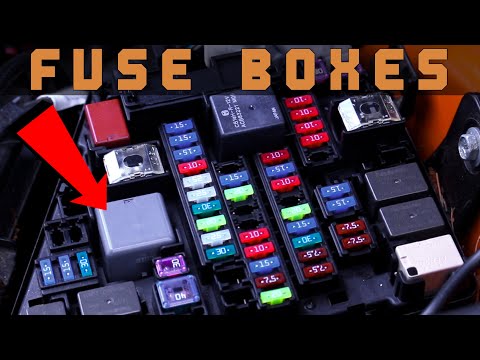
This short video will explain how to replace fuses in your car. First, locate the two fuse boxes: usually, one is found inside the cabin and one near…
(Various brands) Various
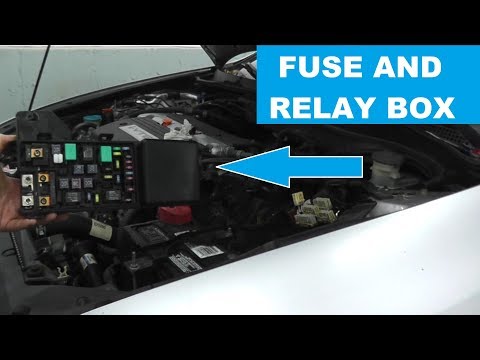
Let’s look at the position of the fuses in the engine compartment of the car. Open the car door, pull up the lever to open the engine compartment loc…
(Various brands) Various
Need to remove the fuses from your car? Here's how. Open the car door, pull up the lever to open the engine bay located at the bottom left of the das…
Other guides you may be interested in
|
Frequently Asked QuestionsHow to Open the Bonnet on the Lancia Y
To open the bonnet on this vehicle, follow these simple instructions: first, open the driver's door and locate the lever positioned just below the dashboard, marked with an image of the vehicle with the bonnet open. Pull this lever towards you until you hear a "click" indicating the bonnet is released. Next, exit the cabin and stand in front of the bonnet to disengage the safety catch and complete the opening. To do this, slightly lift the bonnet, locate the yellow lever underneath, and pull it to the left to fully release and open the bonnet. by ScegliAuto More videos
|
|
For advertising on this site Write to info@scegliauto.com
ScegliAuto is not responsible for any inaccuracy of the data in the lists. To report any inaccuracy or your business (if you own the business in question), please write to info@scegliauto.com
Number of seconds to generate the page: 0.118
(c) ScegliAuto 2026 - info@scegliauto.com - Privacy policy VAT number: IT01247470535 |
