
|
Do it yourself
| |||
| ||||


Wiring Diagram for 7 Pin Trailer Socket
Model: (Various brands) Various
This video shows the wiring diagram for the type "N" 7 Pin trailer socket. This is still the most common connector for towing and provides power to the road lighting of your trailer and caravan. It has been replaced by the European 13 PIN socket on all new caravans. Below, the video includes a diagram of the plug and the original socket, showing the description for each pin: the yellow pin is for the left indicator; pin two for blue is the fog light; white pin 3 is the earth; green pin 4 is for the right indicator; brown pin 5 is for the rear or right side position light; red pin 6 is the stop light, while pin 7 black is for the left tail light or side light. Below are the two wiring diagrams: the first shows the configuration of two stop lights, two indicators, and two position lights. The second shows two stop lights, two indicators, two position lights, and a fog light.
Updated on 30 August 2026 by ScegliAuto
Video tutorial
Related tutorials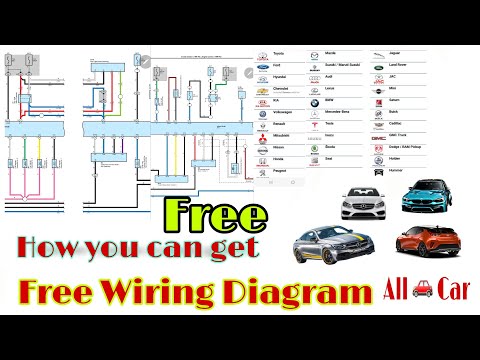
(Various brands) Various
In this video, the YouTuber shows us how to obtain the electrical schematic for free, with color codes. The electrical schematic is very useful when …
(Various brands) Various
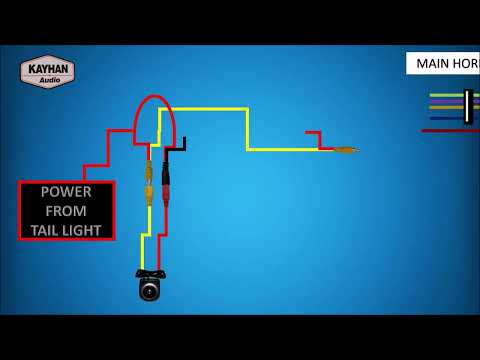
In this video, we will look at the general layout for installing a rear camera on a vehicle. This includes the wiring diagram from the camera to the …

(Various brands) Various
The video shows the electrical diagram of the air conditioning (A/C) circuit of a car. At the centre of the system is the compressor, driven by a bel…
Other guides you may be interested in
|
Frequently Asked QuestionsHow to Check the Oil Level on a Jeep Renegade?
To check the oil level on a Jeep Renegade, you need to open the bonnet to access the components inside the engine bay: on the lower left side of the engine block, you will find the dipstick for checking the level. This should be pulled out and thoroughly cleaned with a cloth: once cleaned, reinsert it back into its tube and pull it out immediately after. This way, you can check that the oil mark is between the minimum and maximum levels; finally, you can place the dipstick back in its tube. by ScegliAuto More videos
|
|
For advertising on this site Write to info@scegliauto.com
ScegliAuto is not responsible for any inaccuracy of the data in the lists. To report any inaccuracy or your business (if you own the business in question), please write to info@scegliauto.com
Number of seconds to generate the page: 0.321
(c) ScegliAuto 2026 - info@scegliauto.com - Privacy policy VAT number: IT01247470535 |
