
|
Do it yourself
| |||
| ||||


Common Mistakes When Replacing Shock Absorbers
Model: (Various brands) Various
Here is a list of the 5 most common mistakes regarding shock absorber replacement. Mistake number 1: choosing the wrong replacement part. Shock absorbers come in different types and vary in specifications, designed for specific vehicles. While it is possible to install a compatible part, this does not mean it won't lead to safety issues. It is important to use original parts by referencing the OEM code during ordering to avoid mistakes. Mistake number 2: failing to check the condition of connected parts. When inspecting shock absorbers, check the springs, mounts, bearings, bump stops, and dust covers. If damaged parts are not replaced, changing only the shock absorber will not solve your problem. Mistake number 3: not priming the shock absorber. The fluid in this component may leak out, so it is necessary to check its proper functioning before installation and restore it if needed. Mistake number 4: incorrect torque on fastening elements. Since the required values are specified by the manufacturer, it is essential to observe the removed elements to take measurements and avoid errors. Mistake number 5: incorrect positioning of the shock absorbers. Do not tighten the fastening elements if the suspension components are unloaded while the vehicle is lifted, as this can lead to incorrect positioning of the shock absorbers. Position them only when the wheels are on the ground and the components are loaded.
Updated on 8 September 2026 by ScegliAuto
Video tutorial
Related tutorials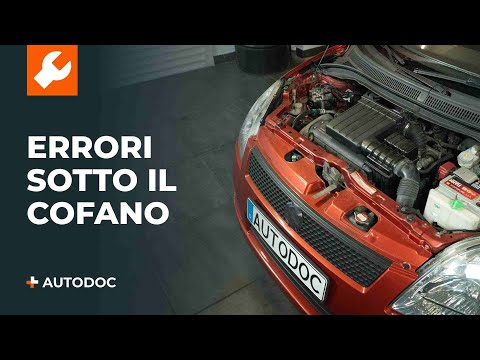
(Various brands) Various
When carrying out maintenance tasks independently, it is possible to make mistakes, even unintentionally. Here are the 5 most common errors to avoid.…
(Various brands) Various
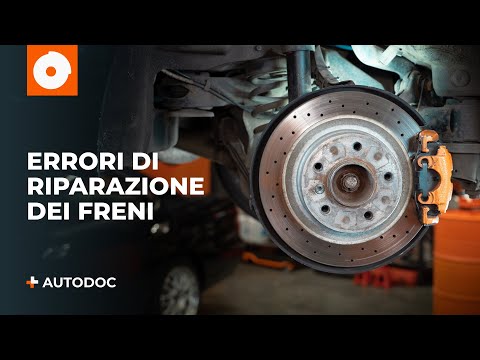
Even the most experienced can make mistakes during brake repairs; the important thing is to notice them in time and rectify the error. But what are t…

(Various brands) Various
Here are the most common mistakes when changing oil yourself: the first is, of course, not doing it in a timely manner, but delaying it, whereas it i…
Other guides you may be interested in
|
Frequently Asked QuestionsHow to Check the Oil Level on a Jeep Renegade?
To check the oil level on a Jeep Renegade, you need to open the bonnet to access the components inside the engine bay: on the lower left side of the engine block, you will find the dipstick for checking the level. This should be pulled out and thoroughly cleaned with a cloth: once cleaned, reinsert it back into its tube and pull it out immediately after. This way, you can check that the oil mark is between the minimum and maximum levels; finally, you can place the dipstick back in its tube. by ScegliAuto More videos
|
|
For advertising on this site Write to info@scegliauto.com
ScegliAuto is not responsible for any inaccuracy of the data in the lists. To report any inaccuracy or your business (if you own the business in question), please write to info@scegliauto.com
Number of seconds to generate the page: 0.135
(c) ScegliAuto 2026 - info@scegliauto.com - Privacy policy VAT number: IT01247470535 |
