
|
Do it yourself
| |||
| ||||


How to Change the Time on a Siemens VDO Digital Tachograph
Model: (Various brands) Various
The process for changing the time on a Siemens VDO digital tachograph may vary slightly depending on the model and version of the tachograph. However, here is a general guide you can follow: Ensure the vehicle is stationary and the digital tachograph is powered on. Access the menu of the digital tachograph. This can be done using the buttons or navigation button on the tachograph panel. Scroll through the menu options until you find the option for clock or time settings. Select the option for clock or time settings. Use the buttons or navigation button to change the current time. Typically, you can set the time in 24-hour format or AM/PM format, depending on the available options. Once the time is set correctly, confirm the selection to save the changes. Exit the settings menu and check that the time has been changed correctly on the tachograph display.
Updated on 17 September 2026 by ScegliAuto
Video tutorial
Related tutorials
(Various brands) Various
Let's see how to set the local time on the VDO tachograph of a commercial vehicle: the purpose is to display the local time, for example when switchi…
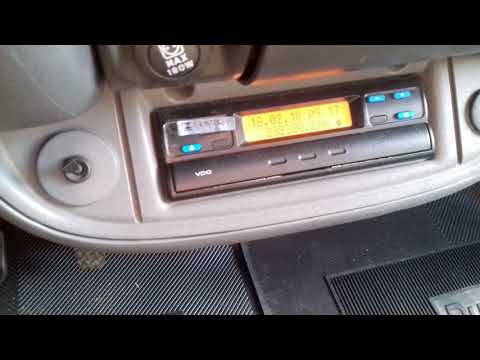
(Various brands) Various
In this video, we will see how to set the daily time on the VDO tachograph of a van. Press the button located on the right side of the device while s…

(Various brands) Various
We can see how the VDO, namely the digital tachograph, of a commercial vehicle works, explained by someone who uses it every day: at the top we see t…
Other guides you may be interested in
|
How to replace the horn on a Renault Duster - Dacia Duster
Today's main instructions will show you the procedure for removing and replacing the horn or sound signal on the Renault Duster, as well as the Dacia Duster. First, open the bonnet of the vehicle and start removing the front bumper by unscrewing all the fixing screws; you will find the horn right in front of the radiator, as shown in the video. At this point, disconnect the electrical connector and unscrew the bracket screw to remove and replace the horn with the new one; finally, reassemble the front bumper! by ScegliAuto More videos
|
|
For advertising on this site Write to info@scegliauto.com
ScegliAuto is not responsible for any inaccuracy of the data in the lists. To report any inaccuracy or your business (if you own the business in question), please write to info@scegliauto.com
Number of seconds to generate the page: 0.131
(c) ScegliAuto 2026 - info@scegliauto.com - Privacy policy VAT number: IT01247470535 |
