
|
Do it yourself
| |||
| ||||


Complete electrical diagram of the Volkswagen Polo from 1999 to 2016
Model: Volkswagen Polo
Polo 5, Polo V, MK 5, MK V, 6R
- Years 2009-2017
In this video we can see the electrical diagrams of the Volkswagen Polo from 1999 to 2016, with details of the wiring. Included are diagrams for the following systems: radio wiring, engine wiring, air conditioning wiring, ABS wiring, transmission wiring, electric window wiring, sunroof wiring, computer data lines, cruise control wiring, instrument panel, possible trailer and others. Of course, this video is dedicated to those who already have a certain expertise in the electronic field and are able to work on these components with experience.
Posted on 1 October 2024 by ScegliAuto
Video tutorial
Related tutorials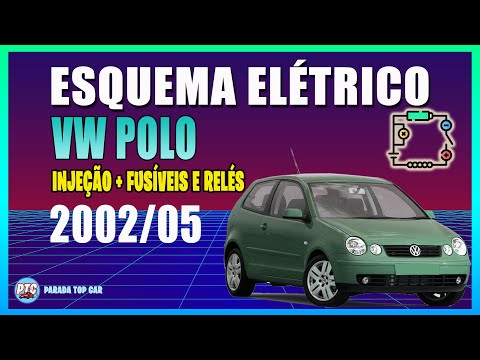
Volkswagen Polo
(1994-2003 /
MK III, Polo III, Polo 3, MK 3, 6N)
In this very short video tutorial, you can see the complete fuse diagram for a first-generation Volkswagen Polo. To access the fuse box on this model…
Volkswagen Polo
(2009-2017 /
Polo 5, Polo V, MK 5, MK V, 6R)
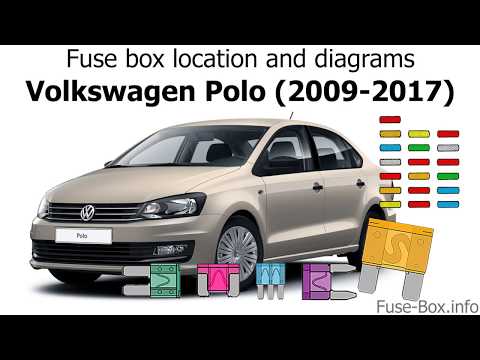
The attached video shows the fuse diagram for a Volkswagen Polo. To access the fuses, open the front door. Next, unclip and remove the side cover of …

Volkswagen Polo
(2009-2017 /
Polo 5, Polo V, MK 5, MK V, 6R)
The fuse diagram or chart, in general and not only for the 2013 Volkswagen Polo 5, allows for the verification of a possible electrical fault probabl…
Other guides you may be interested in
|
Frequently Asked QuestionsHow to Connect the Cables to the Battery of the Citroen Xsara Picasso?
In this tutorial, you will see how to connect the cables to the battery of the Citroen Xsara Picasso, useful if you need to recharge it or perform an emergency start. First, ensure the key is not inserted, then open the bonnet and move to the front of the left headlamp. Next, locate the bolt just behind the filter box and connect the positive terminal clamp to it. Now you can connect the negative terminal to any point on the chassis, such as the indicated point. Once the operation is complete, ensure you disconnect the negative first and then the positive. by ScegliAuto More videos
|
|
For advertising on this site Write to info@scegliauto.com
ScegliAuto is not responsible for any inaccuracy of the data in the lists. To report any inaccuracy or your business (if you own the business in question), please write to info@scegliauto.com
Number of seconds to generate the page: 1.374
(c) ScegliAuto 2026 - info@scegliauto.com - Privacy policy VAT number: IT01247470535 |
