
|
Do it yourself
| |||
| ||||


How to install the front headlights of the Volkswagen Golf 6.
Model: Volkswagen Golf
MK 6, Golf VI, Golf 6, 5K1
- Years 2008-2012
On the Volkswagen Golf 6, the installation of the front headlights is carried out by working on the front end and the attachments of the optical unit. Secure the vehicle, turn off the ignition, and for greater protection of the electrical system, disconnect the negative terminal of the battery if you need to handle connectors and wiring for an extended period. Open the hood and locate the upper mounting points of the headlight: they are usually Torx/hex screws accessible from above, near the front cross member. To correctly remove the headlight, clear the area of the front end: depending on the trim, it may be necessary to loosen or detach the trim parts and, if present, the bumper attachments in the wheel arch area and at the top. When the headlight is free, support it with one hand, carefully disconnect the main electrical connector by pressing the locking tab and pulling out the plug without tugging on the wires. At this point, you can remove the optical unit and position the new headlight or the one to be reinstalled. Insert the headlight into place, ensuring that the guides and centering pins are respected, and that the fittings align correctly with the fender and front end. Reconnect the electrical connector until it clicks and check that the wiring is not under tension or pinched. Tightening the attachments should be done progressively, ensuring that the gaps between the headlight, bumper, and fender are even and that the headlight is properly seated without forcing it. Reinstall any covers or attachments of the front end that were removed and close the hood. At the end of the job, reconnect the battery if you had disconnected it and immediately check all the functions of the headlight on the Volkswagen Golf: low beams, high beams, daytime running lights, position lights, and turn signals. If you notice a beam that is too high/low or uneven, complete the job by adjusting the headlight alignment according to the specifications and, when possible, with a check on a bench/headlight adjuster.
Posted on 1 January 2026 by ScegliAuto
Video tutorial
Related tutorials
Volkswagen Golf
(2003-2008 /
MK 5, Golf 5, Golf V)
In this tutorial we can see how to disassemble the front headlights in the Volkswagen Golf, a very simple and quick operation. First of all, make sur…

Volkswagen Golf
(1991-1997 /
Golf III, MK 3, Golf 3)
In this tutorial we can see how to disassemble the front headlights in the Volkswagen Golf, an extremely simple and fast operation. First of all, mak…
Volkswagen Golf
(2003-2008 /
MK 5, Golf 5, Golf V)
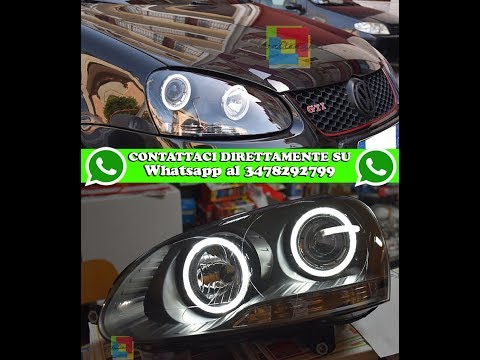
The front headlights you see in this video are from the Volkswagen Golf Mk VII and feature a black background; they are the famous Angel Eyes, which …
Other guides you may be interested in
|
How to Set the Clock on the Opel Zafira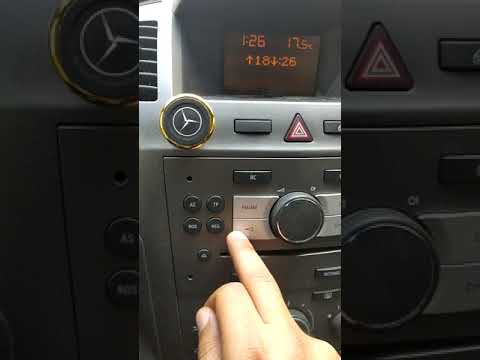
Setting the clock to the current Italian time on an Opel Zafira model B is a very simple operation, also made easier by our short instructional video. The first step is to turn on the instrument panel and then press the SETTING button located on the central dashboard. Once inside the menu, use the buttons to navigate to the clock setting. Adjust the hours and minutes and restart the instrument panel. If the clock does not update, it may be necessary to diagnose the radio or the vehicle's control unit. by ScegliAuto More videos
|
|
For advertising on this site Write to info@scegliauto.com
ScegliAuto is not responsible for any inaccuracy of the data in the lists. To report any inaccuracy or your business (if you own the business in question), please write to info@scegliauto.com
Number of seconds to generate the page: 0.140
(c) ScegliAuto 2026 - info@scegliauto.com - Privacy policy VAT number: IT01247470535 |
