
|
Do it yourself
| |||
| ||||


How to Change the Cabin Filter on a Volkswagen Golf VI
Model: Volkswagen Golf
MK 6, Golf VI, Golf 6, 5K1
- Years 2008-2012
Let's see how to change the cabin filter on a Volkswagen Golf VI: the filter is located on the passenger side, under the dashboard. Remove the old filter; turn off the car and pull the handbrake; unscrew the two plastic screws that hold the cover under the dashboard (passenger side); grasp the filter flange and slide it to the right to release it. Pull the filter down to remove it. Before installing the new filter, remove dust and impurities that may have remained in the filter compartment with a cloth or vacuum cleaner. There are different types of filters: the standard white pollen filter that blocks only dust and coarse particles; the active carbon filter, black or dark grey, that blocks dust, odours or harmful gases, and the CabinHepa (white with special technology) that blocks particles down to the size of viruses. Insert the new filter respecting the installation direction, reattach the flange, reassemble the cover and hand-tighten the two plastic screws.
Posted on 25 April 2026 by ScegliAuto
Video tutorial
Related tutorials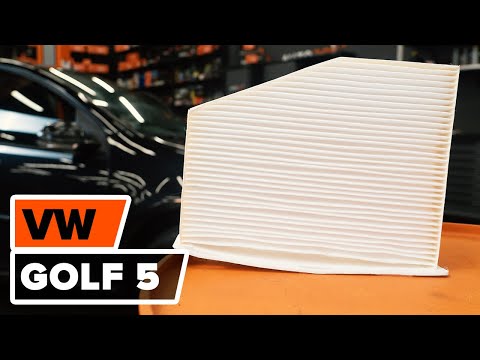
Volkswagen Golf
(2003-2008 /
MK 5, Golf 5, Golf V)
How to change the pollen filter on a Volkswagen Golf 5? Here’s how to do it. Using a plastic lever, detach the covering plastics located at the botto…

Volkswagen Golf
(2008-2012 /
MK 6, Golf VI, Golf 6, 5K1)
If you want to replace the cabin air filter in your Volkswagen Golf Mk6 yourself, follow the procedure described in this guide. First, purchase a new…

Volkswagen Golf
(2008-2012 /
MK 6, Golf VI, Golf 6, 5K1)
If you are curious to discover how to correctly replace the cabin air filter in your Volkswagen Golf Mk7, then all you have to do is read the followi…
Other guides you may be interested in
|
How to Remove the Front Bumper of the Citroën C4 Picasso?
To remove the front bumper of the Citroën C4 Picasso, you need to take out all the rivets and screws that secure the piece to its housing: these screws are located inside the wheel arches of the front wheels and at the central upper part of the bumper itself. Once all these fastening elements have been removed, you can detach the bumper from its seat by disconnecting the connectors inside and then insert the new replacement part. The new part can then be secured and connected properly, ensuring it is correctly fixed in place. by ScegliAuto More videos
|

|
For advertising on this site Write to info@scegliauto.com
ScegliAuto is not responsible for any inaccuracy of the data in the lists. To report any inaccuracy or your business (if you own the business in question), please write to info@scegliauto.com
Number of seconds to generate the page: 0.067
(c) ScegliAuto 2026 - info@scegliauto.com - Privacy policy VAT number: IT01247470535 |
