
|
Do it yourself
| |||
| ||||


How to Replace the Daytime Running Light Bulbs on a Volkswagen Up
Model: Volkswagen Up
MK 1
- Years 2011-2024
Replacing the daytime running lights on a Volkswagen Up is a straightforward task that does not require tools or professional assistance. By opening the bonnet, you will immediately notice that at the back of the headlamp, corresponding to the daytime running light bulb, the power connector will be clearly visible. This needs to be disconnected by simply pulling it outwards. Once the connector is removed, the bulb holder will remain in the headlamp, and to remove it, simply rotate it half a turn counterclockwise and pull it out of its seat. This will give you access to the bulb, which can be replaced with a new one. After that, proceed to reinsert the bulb holder into its seat by turning it clockwise and reconnecting the power connector.
Updated on 11 March 2026 by ScegliAuto
Video tutorial
Related tutorials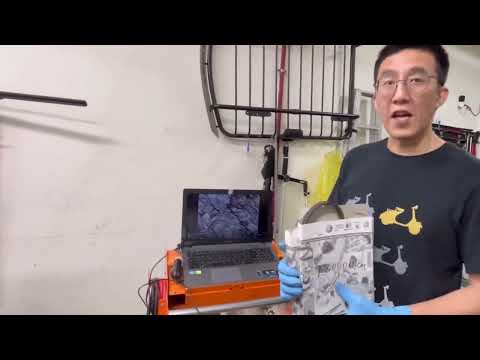
Volkswagen Up
(2011-2024 /
MK 1)
Today's guide will provide useful information regarding the replacement of the timing belt on a Volkswagen Up 1.0 MPI, as well as on the Seat Mii, Sk…
Volkswagen Up
(2011-2024 /
MK 1)
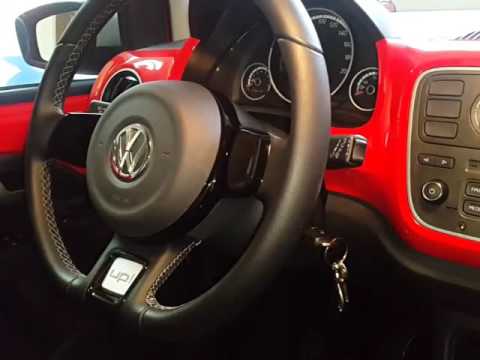
How do you replace the pollen filter in the cabin of a Volkswagen Up? Follow these steps: open the door and locate the filter housing under the dashb…
Volkswagen Up
(2011-2024 /
MK 1)
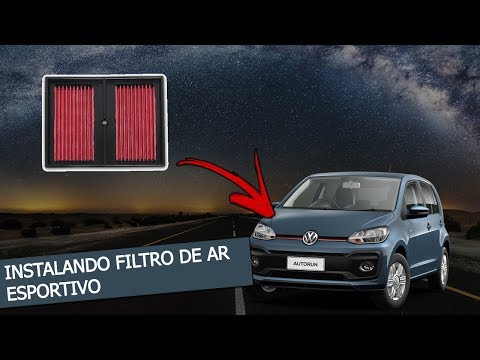
See how to remove and replace the engine air filter on a Volkswagen Up. Open and lift the front bonnet (where the engine is located), securing it. Re…
Other guides you may be interested in
|
How to Replace the External Wing Mirror on a Ford C MAX
In the event of a breakage, it will be necessary to replace the external wing mirror on the 2011 Ford C MAX. This operation is easily performed independently. Start by removing the internal cover of the mirror with a plastic lever. Then, use a socket wrench to remove the securing pins. Once the pins are removed, you can take off the mirror, but not before disconnecting the power connectors. Then proceed to fit the new mirror. First, connect the connectors and then secure the mirror to its housing with the pins. Refit the plastic cover and test the operation of the electric mirror using the controls. by ScegliAuto More videos
|
|
For advertising on this site Write to info@scegliauto.com
ScegliAuto is not responsible for any inaccuracy of the data in the lists. To report any inaccuracy or your business (if you own the business in question), please write to info@scegliauto.com
Number of seconds to generate the page: 0.127
(c) ScegliAuto 2026 - info@scegliauto.com - Privacy policy VAT number: IT01247470535 |
