
|
Do it yourself
| |||
| ||||


Automatic Gearbox Oil Replacement
Model: Volkswagen Golf
MK 6, Golf VI, Golf 6, 5K1
- Years 2008-2012
First, remove the battery and the support base to access the oil filter of the gearbox: it is a cartridge filter. Next, locate the oil drain plug of the gearbox and unscrew it with a 14 mm hex key, placing a container underneath to collect the used oil; in addition to the metal plug, unscrew a second plastic plug inside, which is elongated and used to regulate the oil level in the gearbox; once the draining is complete, refit both plugs, removing any metallic debris, and do not apply the new washer to the metal plug yet as it will need to be removed again to adjust the level. Fill the gearbox with new oil according to the SAE specifications and the quantities indicated in the user and maintenance manual, through the filter housing; finally, fit the new filter and the plug after replacing the O-ring seals. Refit the battery. Start the engine and engage all the gears of the automatic gearbox. Finally, unscrew only the metal plug, allow excess oil to escape to adjust the level, and refit it now, replacing the metal washer.
Updated on 6 February 2026 by ScegliAuto
Video tutorial
Related tutorials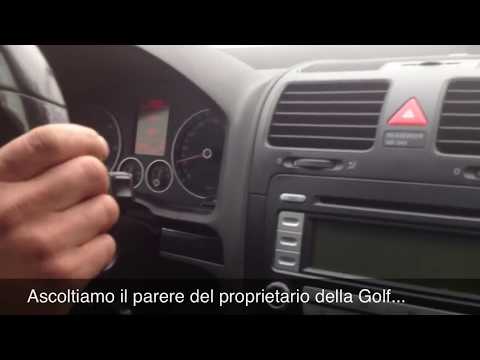
Volkswagen Golf
(2003-2008 /
MK 5, Golf 5, Golf V)
In this video tutorial, you will learn how to perform general maintenance on the DSG automatic gearbox of a Volkswagen Golf. First, open the bonnet a…
Volkswagen Golf
(2003-2008 /
MK 5, Golf 5, Golf V)
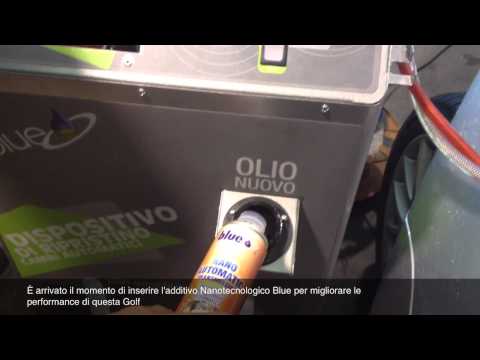
This maintenance operation should ideally be carried out by qualified personnel equipped with the appropriate equipment for washing the automatic gea…

Volkswagen Golf
(2012-2019 /
Golf VII, MK 7, Golf 7)
To replace the mechatronics of the automatic DSG gearbox of the Volkswagen Golf 7, we lift the car on a lift, we unscrew the screws holding the oil p…
Other guides you may be interested in
|
How to Reset the Tyre Pressure Light on the Opel Grandland X
While driving, if you notice the tyre pressure warning light coming on, first check the actual inflation pressure of the tyres and, if necessary, restore the pressures recommended by the manufacturer. After restoring the correct pressures, you need to reset the warning light that has illuminated on the instrument cluster. To do this, locate the reset button on the lower central console. Press this button and hold it down for at least 3 seconds, after which the low pressure indication will turn off. by ScegliAuto More videos
|
|
For advertising on this site Write to info@scegliauto.com
ScegliAuto is not responsible for any inaccuracy of the data in the lists. To report any inaccuracy or your business (if you own the business in question), please write to info@scegliauto.com
Number of seconds to generate the page: 0.453
(c) ScegliAuto 2026 - info@scegliauto.com - Privacy policy VAT number: IT01247470535 |
