
|
Do it yourself
| |||
| ||||


Volkswagen Golf - Video tutorial
Model: Volkswagen Golf
MK 4, Golf IV, Golf 4
- Years 1997-2003 In order to access the thermostatic valve, the alternator must be removed. Before removing the auxiliary belt, memorize or note the passage of the belt between the various pulleys; then loosen the tensioner with the 16 mm wrench and remove the belt. At this point it is possible to unscrew the fixing pins of the alternator and disconnect the socket and the cable with the eyelet connected to it. Then disassemble the tensioner to access the other alternator fixing pin to be able to remove it completely. Once the alternator has been removed, it is possible to access the sleeve in which the thermostatic valve is located, immediately behind the alternator fixing plate. Therefore unscrew the two fixing screws of the plastic sleeve and extract the thermostatic valve to replace it with the new one. Then proceed backwards for reassembly, fixing first the alternator and then the tensioner.
Posted on 15 July 2023 by ScegliAuto
Other guides that may interest you
|
Frequently Asked QuestionsHow to set the time on the Peugeot 308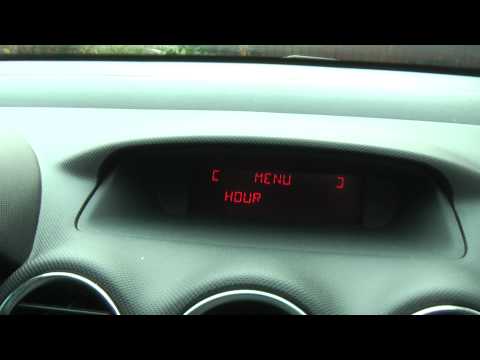
If we need to change the time on this car we can follow the instructions given in this video tutorial and read the instructions below. First of all, access the driver's seat and turn on the ignition. On the right multifunction lever there are the controls with the arrows to scroll the various menu functions and scroll the various functions up to "display adjust", after which press the button behind the lever to change the time, once set the new value press again the key with the arrow indication and modify the minutes in this way the work will be completed. by ScegliAuto More videos
|
|
For advertising on this site Write to info@scegliauto.com
ScegliAuto is not responsible for any inaccuracy of the data in the lists. To report any inaccuracy or your business (if you own the business in question), please write to info@scegliauto.com
Number of seconds to generate the page: 0.009
(c) ScegliAuto 2024 - info@scegliauto.com - Privacy Policy VAT number: IT01247470535 |