
|
Do it yourself
| |||
| ||||


How to Replace the Comfort Module in the Volkswagen Golf 4
Model: Volkswagen Golf
Golf IV, MK 4, Golf 4
- Years 1997-2003
To replace the comfort module in the Volkswagen Golf 4, start by unscrewing the 3 bolts holding the plastics under the steering wheel. Unscrew the 3 screws with a flat screwdriver, then remove the left outer plastic to facilitate the removal of the plastics under the steering wheel, which can be removed simply by pulling. After removing the plastics, take off the black plastic above the pedals. Once that plastic is removed, unscrew the 7 screws holding the black panel under the steering wheel. After removing the panel, use a T30 Torx key to remove the bolt holding the comfort module (located immediately to the left attached to the steering column), disconnect the connector, and take out the module. Now take the new module, attach the bracket to hold it, and reverse the disassembly steps.
Updated on 26 May 2026 by ScegliAuto
Video tutorial
Related tutorials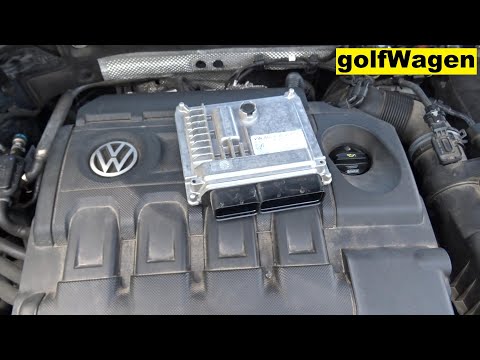
Volkswagen Golf
(2012-2019 /
Golf VII, MK 7, Golf 7)
In this tutorial, you will see how to replace the ECU in a Volkswagen Golf, a very simple and quick operation. First, ensure that the key is not inse…
Volkswagen Golf
(2008-2012 /
MK 6, Golf VI, Golf 6, 5K1)
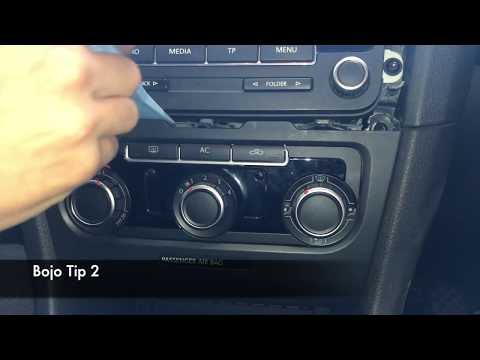
To replace the climate control unit on the Volkswagen Golf 6, first use a lever tool to remove the plastic cover around the central display. Once rem…
Volkswagen Golf
(2003-2008 /
MK 5, Golf 5, Golf V)
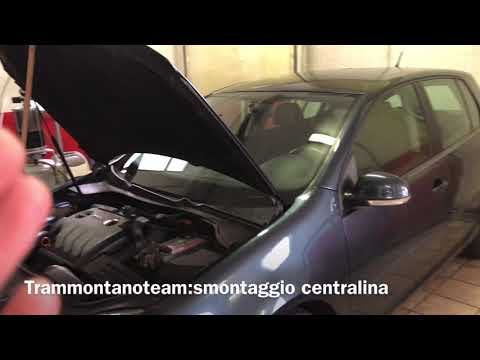
The following is the procedure for replacing the vehicle's control unit: first, open the bonnet and locate the control unit, which is situated at the…
Other guides you may be interested in
|
Frequently Asked QuestionsHow to Replace the Cabin Filter on the Opel Grandland X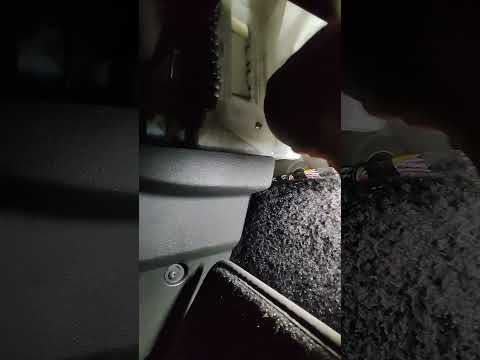
If you own an Opel Grandland X and want to know the steps to replace the cabin air filter, carefully read the following guide and follow the described steps. First, enter the vehicle and go to the passenger side. Then, locate the box containing the air filter in the lower side area of the dashboard. Remove the cover of the box and finally replace the old filter with the new one. Refit the cover, and you are done. by ScegliAuto More videos
|
|
For advertising on this site Write to info@scegliauto.com
ScegliAuto is not responsible for any inaccuracy of the data in the lists. To report any inaccuracy or your business (if you own the business in question), please write to info@scegliauto.com
Number of seconds to generate the page: 0.144
(c) ScegliAuto 2026 - info@scegliauto.com - Privacy policy VAT number: IT01247470535 |
