
|
Do it yourself
| |||
| ||||


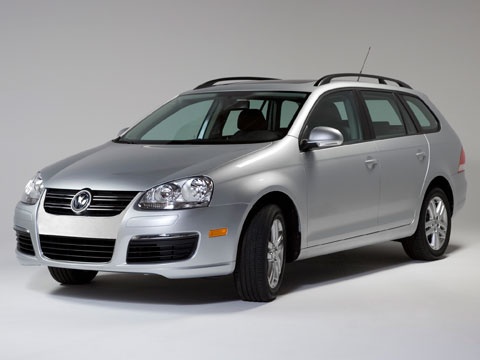
How to Replace the Brake Discs and Pads on the Volkswagen Jetta
Model: Volkswagen Jetta
MK 5, A5
- Years:
2005, 2006, 2007, 2008, 2009, 2010
Video tutorial
To replace the brake discs and pads on the Volkswagen Jetta, lift the front of the car and remove the right wheel. Remove the caps behind the caliper to unscrew the two T47 Torx screws. After unscrewing the two screws, use a screwdriver to remove the caliper retaining clip and take off the caliper. Once the caliper is removed, take out the old pads and set them aside. Now, unscrew the two bolts holding the caliper bracket using a 21mm socket to remove it. Using a T30 Torx key, remove the screws from the brake disc. Screw a bolt into another hole to prevent the disc from falling while you give it a tap. Once the disc is removed, take the new disc, clean it, fix it onto the hub, and screw in the two Torx screws. After securing the disc, take the caliper bracket, position it behind the disc, and screw in the two 21mm bolts. Using a clamp, push the brake piston back parallel to the caliper. Take the new pads, apply grease to the friction material, and position them on the caliper. Then, place the caliper onto the bracket, screw in the two T47 Torx screws, and replace the caps behind the Torx screws. Now you can reattach the caliper retaining clip and the wheel. Perform the same operation on the left side, and at the end of the operation, press the brake pedal until it returns to the previous pressure.
Updated on 1 June 2026 by ScegliAuto
Related tutorials
Volkswagen Jetta
(2018-2025 /
A7, MK 7)
The instructions in this guide will show us how to disassemble and replace the rear brake pads of the Volkswagen Jetta. First, let's lift the vehicle…

Volkswagen Jetta
(2010-2018 /
MK 6, A6)
Follow these main steps to remove and replace the front brake pads on the Volkswagen Jetta. First, lift the vehicle and start unscrewing the wheel bo…

Volkswagen Jetta
(2005-2010 /
MK 5, A5)
To remove the front brake discs, start by loosening the wheel bolts before lifting the vehicle and placing it on suitable axle stands to complete the…
Other guides you may be interested in
|
How to Reset the Tire Pressure Light on a MG ZS?
On the instrument cluster of the MG ZS, the tire pressure light that appears can be reset by inflating the tires to the correct pressure: this value will be indicated on the sticker attached to the driver's door pillar. Once the tires have been properly inflated, you can turn on the instrument cluster and navigate through the menu until you find the option that indicates tire pressure: if this screen shows the new values, the light will turn off; otherwise, you will need to drive for a few miles so that the sensors can read the new values and turn off the light afterward. by ScegliAuto More videos
|
|
For advertising on this site Write to info@scegliauto.com
ScegliAuto is not responsible for any inaccuracy of the data in the lists. To report any inaccuracy or your business (if you own the business in question), please write to info@scegliauto.com
Number of seconds to generate the page: 0.191
(c) ScegliAuto 2026 - info@scegliauto.com - Privacy policy VAT number: IT01247470535 |
