
|
Do it yourself
| |||
| ||||


How to Change the Battery in the Volkswagen Passat Remote?
Model: Volkswagen Passat
B8, 3G, MK 8
- Years 2014-2023
In this procedure, you will learn how to change the battery in a 2018 Volkswagen Passat remote: you will need a new battery (battery code: CR 2032). Start by removing the key from the remote, insert the same key a few centimetres into its housing and lever it towards the side where the VW emblem is located, then remove the cover to see the battery that needs changing. Now, using a small flat screwdriver, pry the battery out from underneath and insert the new battery in the same orientation as the old one until you hear a click. At this point, you can reinsert the previously removed battery cover until you hear it click, reinsert the key into the remote, and test it, noting that the red light will illuminate as soon as a button is pressed.
Updated on 2 June 2026 by ScegliAuto
Video tutorial
Related tutorials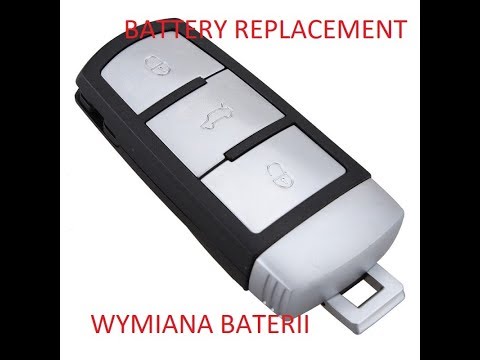
Volkswagen Passat
(2005-2010 /
B6, 3C)
Discover in this short and simple guide the steps to remove and replace the battery of the remote key for the Volkswagen Passat. First, take your rem…

Volkswagen Passat
(2010-2014 /
B7)
In this guide, we will explore the instructions on how to disassemble and replace the battery of the Volkswagen Passat key remote. First, let's take …
Volkswagen Passat
(2010-2014 /
B7)
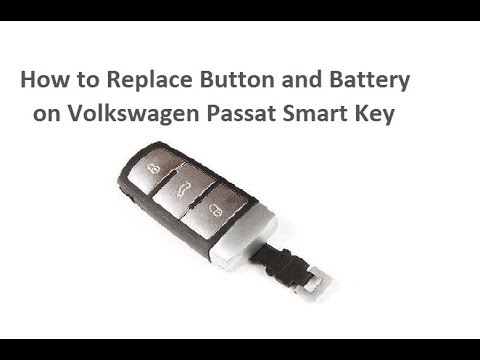
How to change the battery or replace the buttons on the remote key of a Volkswagen Passat? Let's see in this detailed video how to do it. Take your r…
Other guides you may be interested in
|
Fuses Location and Diagram for the Volkswagen Crafter
In this guide, we will look at the location of the fuse boxes and how to find their diagram for the Volkswagen Crafter. First, get inside the vehicle and start by removing the plastic cover found under the steering wheel, to access the internal fuse box; you will find another fuse box in the engine compartment by removing the plastic cover located next to the battery. At this point, use the owner's manual to find the fuse diagram, which will allow you to identify and replace any blown fuses with new ones! by ScegliAuto More videos
|

|
For advertising on this site Write to info@scegliauto.com
ScegliAuto is not responsible for any inaccuracy of the data in the lists. To report any inaccuracy or your business (if you own the business in question), please write to info@scegliauto.com
Number of seconds to generate the page: 0.262
(c) ScegliAuto 2026 - info@scegliauto.com - Privacy policy VAT number: IT01247470535 |
