
|
Do it yourself
| |||
| ||||


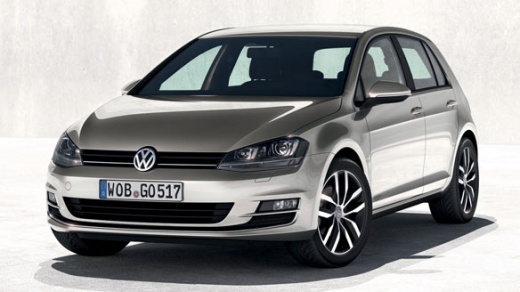
How to Reset the Service Light on Volkswagen Golf 7
Model: Volkswagen Golf
Golf VII, MK 7, Golf 7
- Years 2012-2019
To reset the "SERVICE" light on a Volkswagen Golf 7, follow these simple instructions. With the ignition off, press and hold the "0.0" button on the dashboard. Insert the key and turn on the ignition, but do not start the engine, while continuing to hold the button. The central display will show "Reset oil change". Press again and it will display "Indicator reset". To check that it has been reset, select "CAR" on the central console display, then "SETUP" and scroll down to "SERVICE" and select it. Here, all maintenance data is displayed, indicating the days or miles remaining until the next service.
Updated on 13 July 2026 by ScegliAuto
Video tutorial
Related tutorials
Volkswagen Golf
(2008-2012 /
MK 6, Golf VI, Golf 6, 5K1)
In this tutorial, we will see how to reset the service light on a Volkswagen Golf, a very simple and quick operation to be performed only after compl…

Volkswagen Golf
(2008-2012 /
MK 6, Golf VI, Golf 6, 5K1)
In this tutorial, you will see how to reset the service light on the Volkswagen Golf, a very simple and quick operation to perform only after complet…

Volkswagen Golf
(1997-2003 /
Golf IV, MK 4, Golf 4)
Learn how to reset the service light on a Volkswagen Golf. This is a very simple operation. Enter the vehicle, turn on the ignition, and observe the …
Other guides you may be interested in
|
How to Replace the Cabin Filter on the Opel Grandland X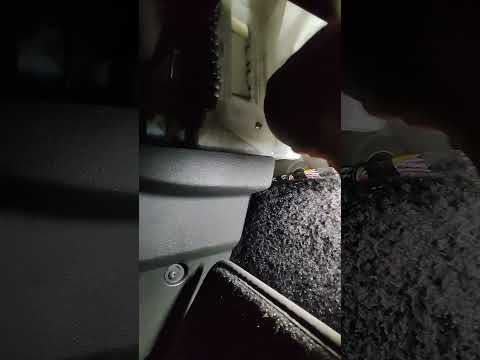
If you own an Opel Grandland X and want to know the steps to replace the cabin air filter, carefully read the following guide and follow the described steps. First, enter the vehicle and go to the passenger side. Then, locate the box containing the air filter in the lower side area of the dashboard. Remove the cover of the box and finally replace the old filter with the new one. Refit the cover, and you are done. by ScegliAuto More videos
|
|
For advertising on this site Write to info@scegliauto.com
ScegliAuto is not responsible for any inaccuracy of the data in the lists. To report any inaccuracy or your business (if you own the business in question), please write to info@scegliauto.com
Number of seconds to generate the page: 0.131
(c) ScegliAuto 2026 - info@scegliauto.com - Privacy policy VAT number: IT01247470535 |
