
|
Do it yourself
| |||
| ||||


Replacing the Manufacturer's Badge on the Volkswagen Golf
Model: Volkswagen Golf
Golf VII, MK 7, Golf 7
- Years 2012-2019
Below are the instructions to remove and replace the manufacturer's badge fixed on the tailgate of the Volkswagen Golf. First, move to the rear of the vehicle and use thin plastic levers to gently remove the manufacturer's badge fixed on the boot; then clean the affected area, as shown in the video. At this point, correctly attach the new original logo, following the video tutorial to the end for reassembly!
Updated on 5 September 2026 by ScegliAuto
Video tutorial
Related tutorials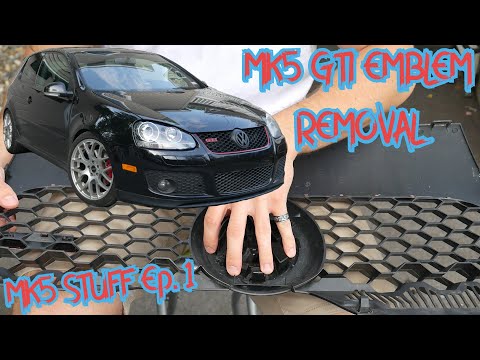
Volkswagen Golf
(2003-2008 /
MK 5, Golf 5, Golf V)
Let's briefly go through the steps to remove and replace the front manufacturer's badge on a Volkswagen Golf, GTI version. First, move to the front o…
Volkswagen Golf
(2008-2012 /
MK 6, Golf VI, Golf 6, 5K1)
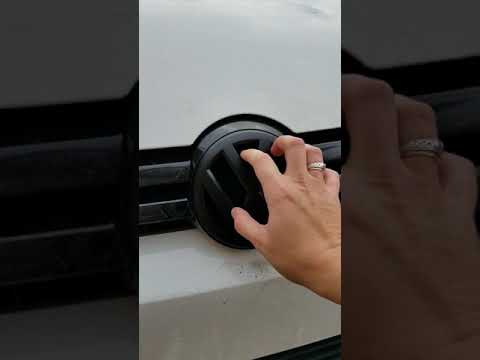
The steps to replace the manufacturer's badge on a Volkswagen Golf 6 are very simple to perform yourself. Follow these steps: First, insert an object…
Volkswagen Golf
(2003-2008 /
MK 5, Golf 5, Golf V)
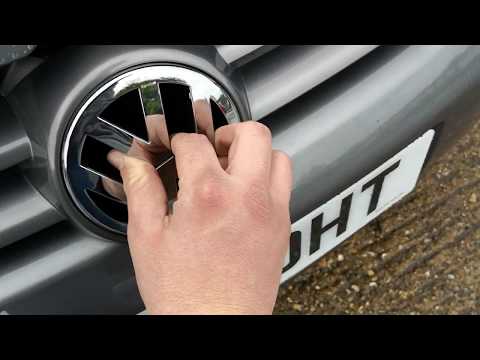
Removing the manufacturer's badge from the front bumper of a Volkswagen Golf 5 is a simple task you can do yourself, aided by our brief video tutoria…
Other guides you may be interested in |
How to Reset the Tyre Pressure Light on the Opel Grandland X
While driving, if you notice the tyre pressure warning light coming on, first check the actual inflation pressure of the tyres and, if necessary, restore the pressures recommended by the manufacturer. After restoring the correct pressures, you need to reset the warning light that has illuminated on the instrument cluster. To do this, locate the reset button on the lower central console. Press this button and hold it down for at least 3 seconds, after which the low pressure indication will turn off. by ScegliAuto More videos
|
|
For advertising on this site Write to info@scegliauto.com
ScegliAuto is not responsible for any inaccuracy of the data in the lists. To report any inaccuracy or your business (if you own the business in question), please write to info@scegliauto.com
Number of seconds to generate the page: 0.079
(c) ScegliAuto 2026 - info@scegliauto.com - Privacy policy VAT number: IT01247470535 |
