
|
Do it yourself
| |||
| ||||


Replacing the horn fuse on the Volkswagen Golf MK6
Model: Volkswagen Golf
MK 6, Golf VI, Golf 6, 5K1
- Years 2008-2012
If the horn on the Volkswagen Golf suddenly stops working, the cause may be a blown fuse due to an overload. To check and possibly replace it, open the bonnet on the driver's side near the wheel arch and locate the fuse box. Open it and, using the wiring diagram in the owner's manual, identify the horn fuse on the left, the second from the top. Remove it and replace it with a new 15A fuse, then close the fuse box.
Updated on 21 September 2026 by ScegliAuto
Video tutorial
Related tutorials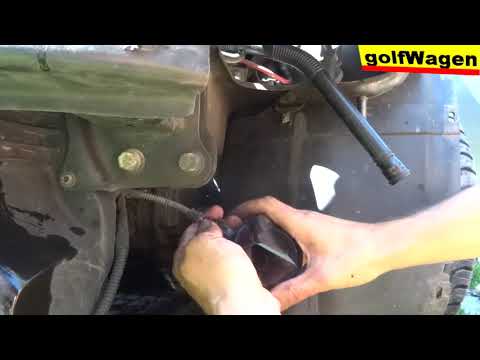
Volkswagen Golf
(2003-2008 /
MK 5, Golf 5, Golf V)
In today's tutorial, you will learn how to remove and replace the horn on the Volkswagen Golf by following these simple steps. First, locate the horn…
Volkswagen Golf
(2008-2012 /
MK 6, Golf VI, Golf 6, 5K1)
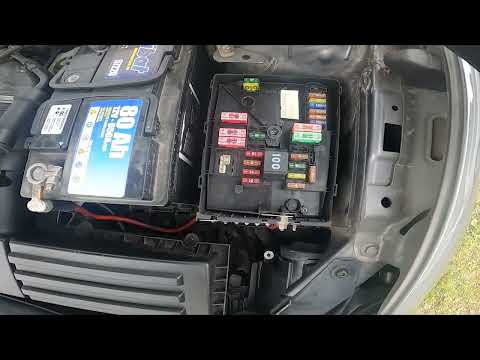
If you are wondering where the fuse box of your Volkswagen Golf Mk6 is located, read the following instructions carefully and then put them into prac…
Volkswagen Golf
(2008-2012 /
MK 6, Golf VI, Golf 6, 5K1)
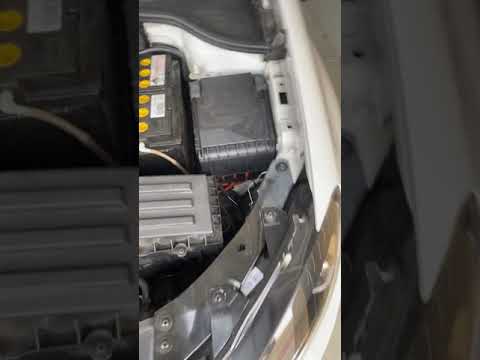
The vehicle discussed in this video is equipped with two fuse boxes. The first is located on the side of the dashboard at the driver's door hinge. To…
Other guides you may be interested in
|
Frequently Asked QuestionsHow to Reset the Tyre Pressure Light on the Opel Grandland X
While driving, if you notice the tyre pressure warning light coming on, first check the actual inflation pressure of the tyres and, if necessary, restore the pressures recommended by the manufacturer. After restoring the correct pressures, you need to reset the warning light that has illuminated on the instrument cluster. To do this, locate the reset button on the lower central console. Press this button and hold it down for at least 3 seconds, after which the low pressure indication will turn off. by ScegliAuto More videos
|
|
For advertising on this site Write to info@scegliauto.com
ScegliAuto is not responsible for any inaccuracy of the data in the lists. To report any inaccuracy or your business (if you own the business in question), please write to info@scegliauto.com
Number of seconds to generate the page: 0.239
(c) ScegliAuto 2026 - info@scegliauto.com - Privacy policy VAT number: IT01247470535 |
