
|
Do it yourself
| |||
| ||||


How to remove the rear panel of a Volkswagen Golf VI 3-door
Model: Volkswagen Golf
MK 6, Golf VI, Golf 6, 5K1
- Years 2008-2012
In this video, we see how to remove the rear panel of the door of a three-door Volkswagen Golf MK6. First, we lower the rear seat and then remove the plastic side panel using a plastic spatula, so as not to scratch the paint or plastic of the panel. We remove the panel, being careful not to damage any parts. We can find a set of these tools, for example on Amazon with the code B073QJNSL2 at a price of 5.99 euros, with free delivery for Prime customers. In the video, we see the panel removed, which is connected from the rear door to the floor and the front door: we try not to remove, as much as possible, the seatbelt. Under the main panel, we will find a second panel where the speaker is installed; we will of course need to remove this as well. Be very careful during disassembly not to break the clips, whether they are metal or plastic, because when we reassemble, we must take this into account, as they will make noise during driving.
Posted on 1 June 2024 by ScegliAuto
Video tutorial
Related tutorials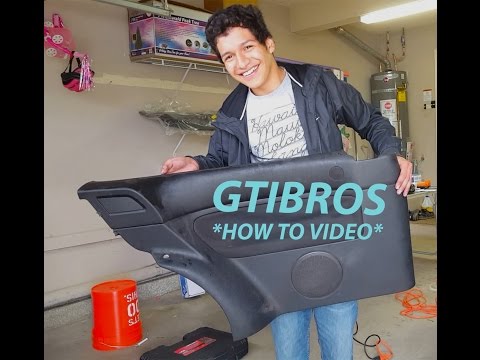
Volkswagen Golf
(1997-2003 /
Golf IV, MK 4, Golf 4)
.. inside the vehicle, especially if it is a three-door model, and begin removing the panel or door trim; then unscrew the screws of the panel located at.. …
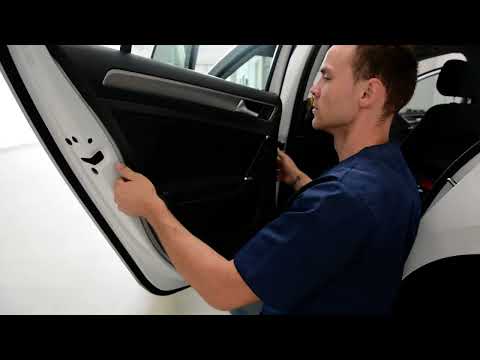
Volkswagen Golf
(2012-2019 /
Golf VII, MK 7, Golf 7)
.. this guide, you will see how to remove the rear door panel of the Volkswagen Golf Mk7. First, remove the grab handle using a plastic lever to avoid damaging.. …
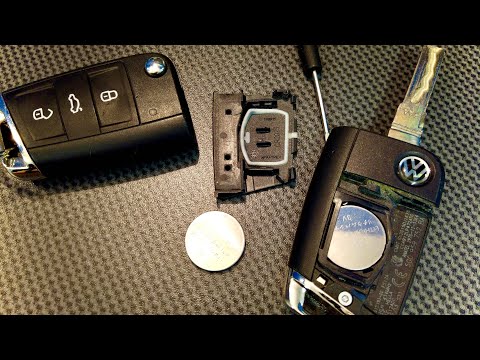
Volkswagen Golf
(2012-2019 /
Golf VII, MK 7, Golf 7)
In this tutorial, you will learn how to replace the battery in the remote for a Volkswagen Golf MK7, a very simple and quick operation. You will need…
Other guides you may be interested in
|
How to Connect the Cables to the Battery of the Citroen Xsara Picasso?
In this tutorial, you will see how to connect the cables to the battery of the Citroen Xsara Picasso, useful if you need to recharge it or perform an emergency start. First, ensure the key is not inserted, then open the bonnet and move to the front of the left headlamp. Next, locate the bolt just behind the filter box and connect the positive terminal clamp to it. Now you can connect the negative terminal to any point on the chassis, such as the indicated point. Once the operation is complete, ensure you disconnect the negative first and then the positive. by ScegliAuto More videos
|
|
For advertising on this site Write to info@scegliauto.com
ScegliAuto is not responsible for any inaccuracy of the data in the lists. To report any inaccuracy or your business (if you own the business in question), please write to info@scegliauto.com
Number of seconds to generate the page: 0.134
(c) ScegliAuto 2026 - info@scegliauto.com - Privacy policy VAT number: IT01247470535 |
