
|
Do it yourself
| |||
| ||||


How to Remove the Brake Disc from a Golf 4
Model: Volkswagen Golf
Golf IV, Golf 4, MK 4
- Years:
1997, 1998, 1999, 2000, 2001, 2002, 2003
Video tutorial
In this video, we will see how to remove the brake pads from a Golf. Lift the car with a jack and remove the wheel, placing it under the car for extra safety. Unscrew the small pin to release the brake fluid, allowing the pressure to drop in the caliper. Unscrew the caliper pins from the bracket using a socket wrench, remove the pads, and then the caliper bracket with the help of a socket wrench. Unscrew the torx pins at the front of the disc, lubricating them with penetrating fluid. Pull the brake disc out with your hands, drawing it towards you. Clean all dirt residues with brushes and lubricate all the pins of the caliper bracket. Take the new brake disc, lubricate it as well, insert it onto the wheel hub pins, then screw in all the torx pins and continue the job by fitting the caliper bracket. Insert the new pads into the bracket and fit the brake caliper. Always top up the brake fluid in the reservoir. Refit the wheel with the respective pins and always check the brake pedal pressure.
Updated on 25 February 2026 by ScegliAuto
Related tutorials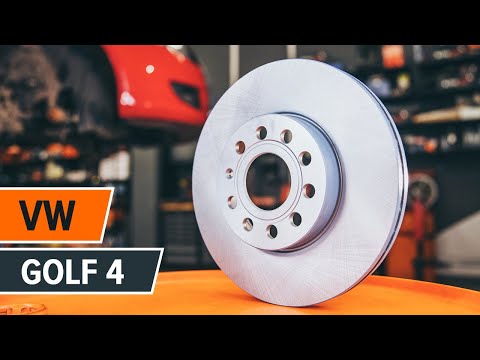
Volkswagen Golf
(1997-2003 /
Golf IV, Golf 4, MK 4)
Let's see how to remove the rear brake disc on a Volkswagen Golf Mk4. Position the car on a column lift and raise it to a comfortable height for work…

Volkswagen Golf
(2003-2008 /
Golf 5, MK 5, Golf V)
Let's see how to remove a rear brake disc from a Volkswagen Golf. Position your car on a column lift, raise it to a comfortable height for access; un…
Volkswagen Golf
(2008-2012 /
Golf 6, MK 6, 5K1, Golf VI)
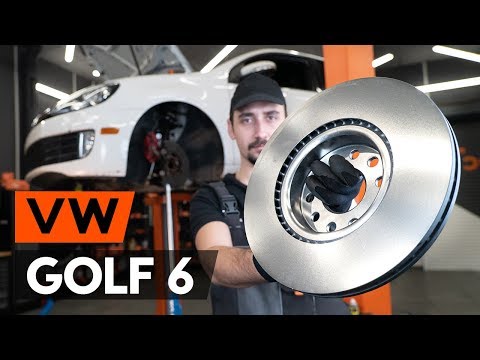
Before starting, engage first gear and activate the handbrake of your Volkswagen Golf, then lift the front end. Begin by unscrewing and removing the …
Other guides you may be interested in
|
How to Open the Bonnet of a Toyota C-HR
To open the bonnet of a Toyota C-HR, get inside the vehicle and lift the lever with the bonnet symbol located under the steering wheel. After lifting the lever, you will notice that the bonnet rises a few centimetres. Position yourself in front of the bonnet, insert your hand into the gap, and move the small internal lever from right to left, then lift the bonnet. You can keep the bonnet open during maintenance by positioning it on the support rod. To close the bonnet, remove the support rod and let it drop back down. by ScegliAuto More videos
|
|
For advertising on this site Write to info@scegliauto.com
ScegliAuto is not responsible for any inaccuracy of the data in the lists. To report any inaccuracy or your business (if you own the business in question), please write to info@scegliauto.com
Number of seconds to generate the page: 0.045
(c) ScegliAuto 2026 - info@scegliauto.com - Privacy policy VAT number: IT01247470535 |
