
|
Do it yourself
| |||
| ||||


How to Turn Off the Check Engine Light on a Volvo XC60 with a Diagnostic Tool
Model: Volvo Xc60
MK 2
- Years 2017-2026
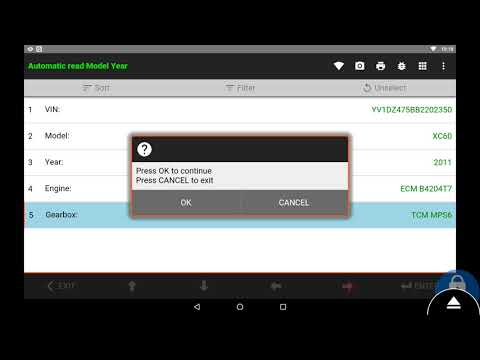
To remove the check engine light on a Volvo XC60, you need to use a diagnostic tool connected to the OBD port. After fixing the issue that triggered the light, park the vehicle, engage the parking brake, and turn on the ignition without starting the engine: this way, the control units are powered, and the check engine light remains visible on the dashboard. Next, connect the tester to the diagnostic port under the dashboard on the driver's side and turn on the tool. Following the tester's menus, select the Volvo XC60, enter the engine control unit, and start reading the error codes. The display will show the stored anomalies: it's important to verify them, note them if necessary, and ensure that the fault has been properly repaired. Only after this verification can you use the error clearing command: the tester sends the command to the control unit, which deletes the codes and turns off the check engine light. Once the operation is complete, disconnect the tool, turn off, and then turn on the ignition again to check that the light remains off. This way, the check engine light on the Volvo XC60 is correctly deactivated through diagnostics after a properly executed maintenance intervention.
Posted on 5 June 2026 by ScegliAuto
Video tutorial
Related tutorials
Volvo Xc60
(2017-2026 /
MK 2)
Reset the Service light on a Volvo XC60 by connecting a diagnostic tool to the vehicle's OBD port, located just below the steering column. Once the s…
Volvo Xc60
(2008-2016 /
MK 1)
To reset the Service light on a Volvo XC60, turn on the ignition and then connect a diagnostic tool to the vehicle's OBD port. This port is located o…
Volvo Xc60
(2017-2026 /
MK 2)
In this new mini guide for all you owners of a second-generation Volvo XC60 (model years 2017-2022), you will discover where the OBD port is located.…
Other guides you may be interested in
|
How to Replace the Battery on a Honda Vision 110
To replace the battery on a Honda Vision 110, you need to remove the front fairing of the motorcycle, located directly under the front headlamp. To loosen this panel, unscrew the two screws found at its top, just below the handlebar. Once these screws are loosened, lever under the panel to detach it, gaining access to the battery underneath: this battery must be removed from its housing by unscrewing the fixing screws and disconnecting the power cables, replacing it with a new one. by ScegliAuto More videos
|

|
For advertising on this site Write to info@scegliauto.com
ScegliAuto is not responsible for any inaccuracy of the data in the lists. To report any inaccuracy or your business (if you own the business in question), please write to info@scegliauto.com
Number of seconds to generate the page: 0.072
(c) ScegliAuto 2026 - info@scegliauto.com - Privacy policy VAT number: IT01247470535 |
