
|
Do it yourself
| |||
| ||||


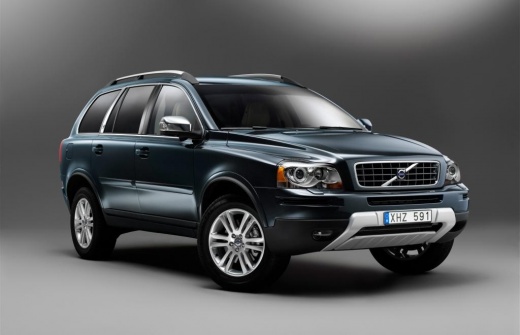
Replacement of Door Lock Plastic Seals with Chrome Version
Model: Volvo Xc90
MK 1
- Years:
2002, 2003, 2004, 2005, 2006, 2007, 2008, 2009, 2010, 2011, 2012, 2013
Video tutorial
You can replace the plastic seals (or caps) of the door locks with chrome-effect rings that match the other aluminum inserts already present in the vehicle. Using a small flathead screwdriver, remove the plastic ring around the lock by pulling it upward. At this point, apply the aluminum ring after lubricating the entry hole with silicone spray; if necessary, use a socket wrench of appropriate diameter as a punch to correctly fit the ring into its seat (optionally protect the head of the ring with a soft cloth to avoid damaging it).
Updated on 4 February 2026 by ScegliAuto
Related tutorials
Volvo Xc90
(2002-2014 /
MK 1)
Today, let's go over the procedure and instructions on how and when to remove and replace the timing belt on the Volvo XC90. For the diesel engine, t…

Volvo Xc90
(2002-2014 /
MK 1)
In this guide we will see the instructions for replacing the timing belt of the Volvo XC90 with a 2.4L engine; the manufacturer indicates that the ti…

Volvo Xc90
(2002-2014 /
MK 1)
Today we will see the instructions that will allow us to dismantle and replace the timing belt of the Volvo XC90 (D5 Diesel engine); the manufacturer…
Other guides you may be interested in
|
How to Remove the Toll Tag Holder from the Car Windscreen
The toll tag holder is usually attached to the car windscreen to ensure that the toll tag functions immediately when passing through barriers. However, if you decide to remove the holder, you should follow this procedure: - Insert the toll tag into the holder; - Pull the holder inwards to detach it from the windscreen; you can use a glass scraper or a stiff plastic card to assist you; After removing the holder, it is essential to remove the adhesive from the windscreen. To remove the adhesive, we recommend using a solvent-based spray that will remove the glue without clouding the area. by ScegliAuto More videos
|
|
For advertising on this site Write to info@scegliauto.com
ScegliAuto is not responsible for any inaccuracy of the data in the lists. To report any inaccuracy or your business (if you own the business in question), please write to info@scegliauto.com
Number of seconds to generate the page: 0.020
(c) ScegliAuto 2026 - info@scegliauto.com - Privacy policy VAT number: IT01247470535 |
