
|
Do it yourself
| |||
| ||||


Removal and Replacement of the Car Radio
Model: Volvo S40
MK 1
- Years:
1995, 1996, 1997, 1998, 1999, 2000, 2001, 2002, 2003, 2004
Video tutorial
To remove the car radio from the console, protect the gear knob with a cloth, then insert the appropriate tools or a coin into the side slots of the radio to disengage the retaining springs. At this point, pull the car radio out of the compartment by carefully disconnecting the connectors, taking care not to pull the wires. To reinstall the equipment, simply reconnect the connectors exactly to their respective sockets and gently insert the radio and player into their compartment, ensuring not to pinch the electrical cables. Turn on the radio and perform a test to verify the perfect operation of both the radio unit and the CD player.
Updated on 7 February 2026 by ScegliAuto
Related tutorials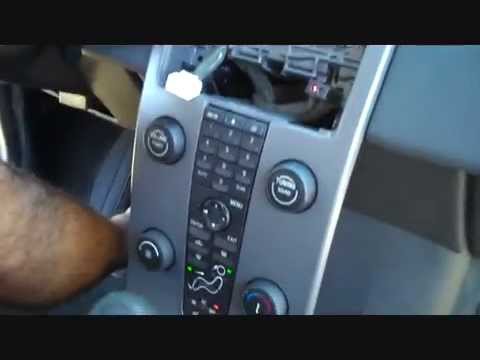
Volvo S40
(2004-2012 /
MK 2)
Disassembling the standard car radio is straightforward but requires some caution when removing the plastic parts that are secured with clips: it is …
Volvo S40
(1995-2004 /
MK 1)
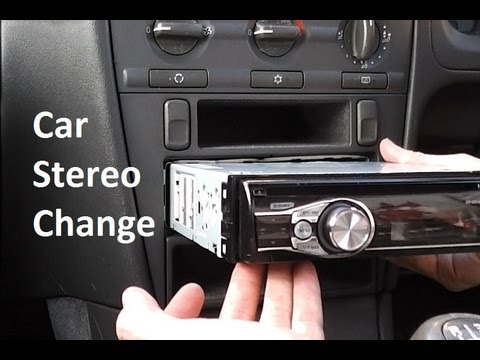
This is an aftermarket car radio, not the original factory unit: to remove it, you need the specific extraction keys usually included in the radio's …
Volvo S40
(2004-2012 /
MK 2)
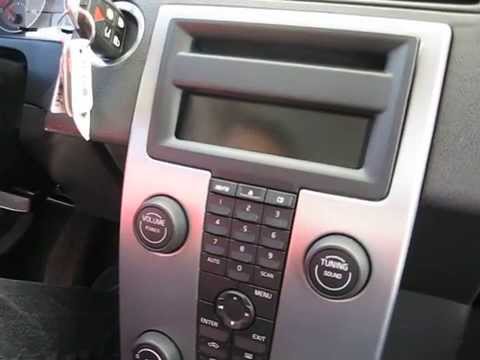
Using a plastic tool to avoid damaging the bodywork, pry at the sides of the display panel to release the plastic clips and remove it. Still using a …
Other guides you may be interested in |
How to Remove the Rear Seat of a Hyundai Tucson?
To remove the rear seat of a Hyundai Tucson, follow these steps. Start by moving the front seats to their most forward position to gain space. Next, locate the release lever on the underside of the rear seat, near the floor. Press this lever down while pulling the seat upwards to unlock it from the anchor pins. Once unlocked, tilt the seat upwards and forwards to remove it from its position. Repeat this process for both sides of the rear seat. Be careful of any electrical cables or components that may be connected to the seat during removal. Once the rear seat is removed, the disassembly is complete. by ScegliAuto More videos
|
|
For advertising on this site Write to info@scegliauto.com
ScegliAuto is not responsible for any inaccuracy of the data in the lists. To report any inaccuracy or your business (if you own the business in question), please write to info@scegliauto.com
Number of seconds to generate the page: 0.030
(c) ScegliAuto 2026 - info@scegliauto.com - Privacy policy VAT number: IT01247470535 |
