
|
Do it yourself
| |||
| ||||


Volvo S40 - Car stereoCar Stereo Volvo S40 (2004-2012 / mk 2)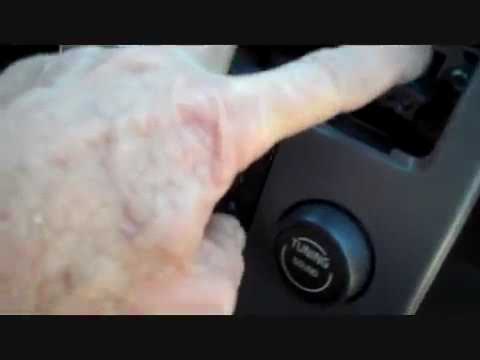 Volvo S40 (2004-2012 / MK 2)
Removing the Front Panel of a Volvo S40 As the video shows, first use a plastic lever to remove the cigarette lighter housing. Remove the two screws securing the front panel, then gently use the …Read all… Posted on 29 March 2026 by ScegliAuto 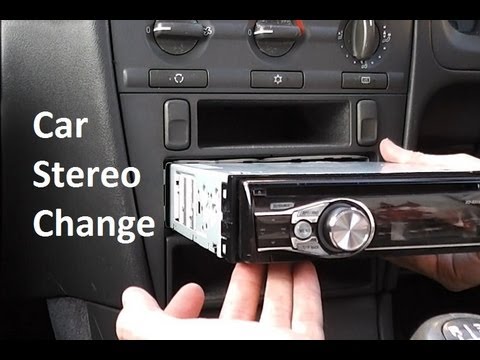 Volvo S40 (1995-2004 / MK 1)
Instructions for Removing the Car Radio This is an aftermarket car radio, not the original factory unit: to remove it, you need the specific extraction keys usually included in the radio's packaging. …Read all… Posted on 20 February 2026 by ScegliAuto 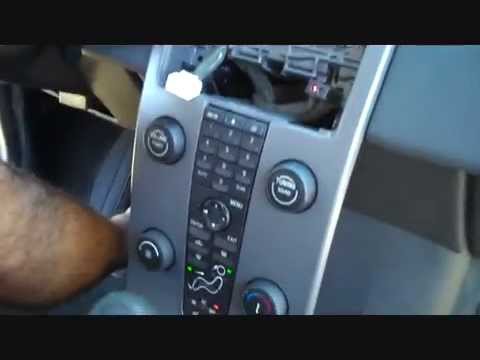 Volvo S40 (2004-2012 / MK 2)
Instructions for Disassembling the Car Radio Disassembling the standard car radio is straightforward but requires some caution when removing the plastic parts that are secured with clips: it is advisable …Read all… Posted on 16 February 2026 by ScegliAuto 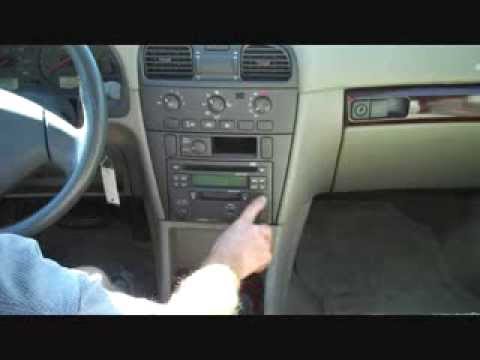 Volvo S40 (1995-2004 / MK 1)
Removal and Extraction of the Car Radio First, put the gear lever in the position furthest from the dashboard to create maximum workspace. On either side of the car radio, there are two small panels …Read all… Posted on 14 February 2026 by ScegliAuto 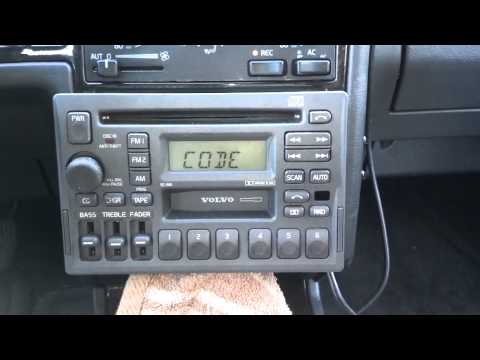 Volvo S40 (1995-2004 / MK 1)
Removal and Replacement of the Car Radio To remove the car radio from the console, protect the gear knob with a cloth, then insert the appropriate tools or a coin into the side slots of the radio to …Read all… Posted on 10 February 2026 by ScegliAuto 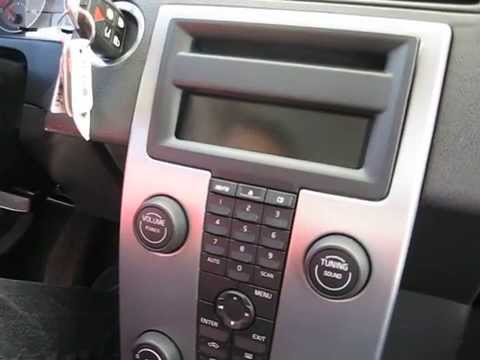 Volvo S40 (2004-2012 / MK 2)
Removing the Car Radio for Repair Using a plastic tool to avoid damaging the bodywork, pry at the sides of the display panel to release the plastic clips and remove it. Still using a plastic …Read all… Posted on 9 February 2026 by ScegliAuto 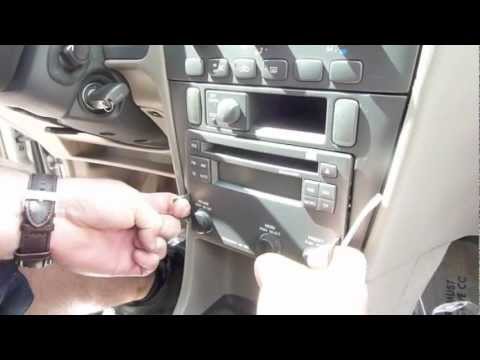 Volvo S40 (1995-2004 / MK 1)
Removal of the Car Radio and Climate Control Buttons Using a small flathead screwdriver, press and release the two securing clips of the car radio located at the bottom sides, then extract the car radio itself …Read all… Posted on 5 February 2026 by ScegliAuto Car Stereo Volvo S40 (1995-2004 / mk 1)
Volvo S40 (2004-2012 / MK 2)Removing the Front Panel of a Volvo S40 As the video shows, first use a plastic lever to remove the cigarette lighter housing. Remove the two screws securing the front panel, then gently use the …Read all… Posted on 29 March 2026 by ScegliAuto
Volvo S40 (1995-2004 / MK 1)Instructions for Removing the Car Radio This is an aftermarket car radio, not the original factory unit: to remove it, you need the specific extraction keys usually included in the radio's packaging. …Read all… Posted on 20 February 2026 by ScegliAuto
Volvo S40 (2004-2012 / MK 2)Instructions for Disassembling the Car Radio Disassembling the standard car radio is straightforward but requires some caution when removing the plastic parts that are secured with clips: it is advisable …Read all… Posted on 16 February 2026 by ScegliAuto
Volvo S40 (1995-2004 / MK 1)Removal and Extraction of the Car Radio First, put the gear lever in the position furthest from the dashboard to create maximum workspace. On either side of the car radio, there are two small panels …Read all… Posted on 14 February 2026 by ScegliAuto
Volvo S40 (1995-2004 / MK 1)Removal and Replacement of the Car Radio To remove the car radio from the console, protect the gear knob with a cloth, then insert the appropriate tools or a coin into the side slots of the radio to …Read all… Posted on 10 February 2026 by ScegliAuto
Volvo S40 (2004-2012 / MK 2)Removing the Car Radio for Repair Using a plastic tool to avoid damaging the bodywork, pry at the sides of the display panel to release the plastic clips and remove it. Still using a plastic …Read all… Posted on 9 February 2026 by ScegliAuto
Volvo S40 (1995-2004 / MK 1)Removal of the Car Radio and Climate Control Buttons Using a small flathead screwdriver, press and release the two securing clips of the car radio located at the bottom sides, then extract the car radio itself …Read all… Posted on 5 February 2026 by ScegliAuto Speaker (3) Shocks (1) Air conditioning (1) Car stereo (7) Battery (2) Air vents (2) Bushings (1) Control arm (1) Spark plugs (1) Body (4) Key (8) Timing belt (4) V-belt (1) A/C controls (1) Onboard computer (1) Checks and maintenance (8) Dashboard (7) Headlight (3) Tail light (1) Air filter (1) Cabin air filter (3) Diesel fuel filter (2) Oil filter (1) Parking brake (1) Grille (1) Accessory kit (3) Light bulb (5) Side marker bulb (3) Headlight bulb (3) Tail light bulb (3) Interior dome light bulb (5) Antifreeze coolant (2) Instrument panel light (1) License plate light (1) Handle (1) Engine (1) Engine oil (3) Door trim panel (3) Front bumper (1) Rear bumper (1) Brake pads (1) Shift knob (3) Instrument cluster (1) Heater core (1) Fuse box (12) Seat (2) Door lock (1) Side mirror (5) Warning light – error code (2) Service warning light (28) Windshield wipers (2) Thermostat (1) Center console tunnel (1) Blower motor (1) |
How to reset the tyre pressure warning light on a Hyundai Tucson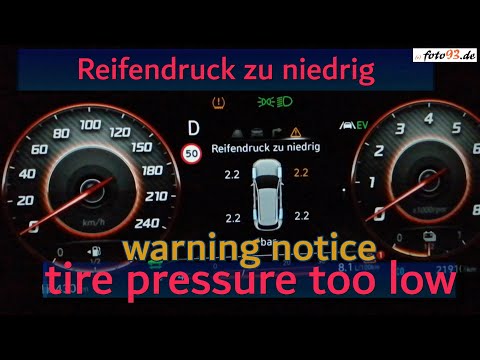
Below are the instructions to reset the tyre pressure warning light (TPMS) on a Hyundai Tucson. First, get into the vehicle and turn on the instrument cluster; then navigate to the vehicle settings until you reach the tyre pressure monitor, identifying the tyre with incorrect pressure. At this point, restore all tyre pressures according to the specifications indicated on the label; this will reset the TPMS and the warning light will be cleared from the instrument cluster! by ScegliAuto More videos
|
|
For advertising on this site Write to info@scegliauto.com
ScegliAuto is not responsible for any inaccuracy of the data in the lists. To report any inaccuracy or your business (if you own the business in question), please write to info@scegliauto.com
Number of seconds to generate the page: 0.012
(c) ScegliAuto 2026 - info@scegliauto.com - Privacy policy VAT number: IT01247470535 |
