
|
Do it yourself
| |||
| ||||


Removal of the door panel and replacement of the window motor on a Volvo C30.
Model: Volvo C30
MK 1
- Years 2006-2013
Make sure the vehicle is turned off and the key is removed from the ignition. Get the necessary tools, such as screwdrivers, pliers, and possibly a tool for removing trim. Door panel removal: remove any screws or clips that attach the panel to the door. These are often hidden under plastic covers or in storage compartments. Gently pry the edges of the panel to release it from the fasteners. Be careful not to force it too much to avoid damaging the panel. Disconnect the electrical connectors for the power windows, mirrors, and speakers, if present. Window motor replacement: locate the window motor inside the door. Remove the screws or bolts that attach the motor to the door frame. Disconnect the electrical connector of the motor. Remove the old motor and replace it with the new one. Reconnect the electrical connector and secure it back to the door frame. Reassembly: make sure all cables are properly connected. Reposition the door panel, ensuring all fasteners are aligned correctly. Secure the panel with the screws or clips removed earlier. Test the operation of the new window motor before putting all the covers back in place.
Posted on 26 May 2024 by ScegliAuto
Video tutorial
Related tutorials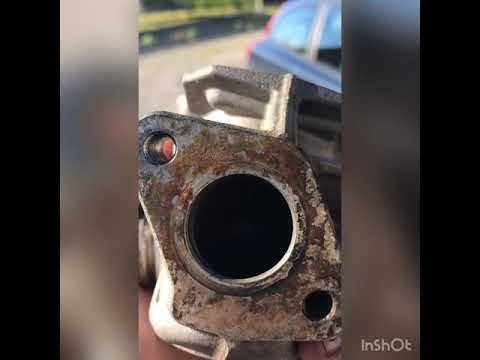
Volvo C30
(2006-2013 /
MK 1)
In this guide, you will find instructions to remove and replace the EGR valve of the Volvo C30 1.6D, as well as the S40 and V50. First, open the bonn…
Volvo C30
(2006-2013 /
MK 1)
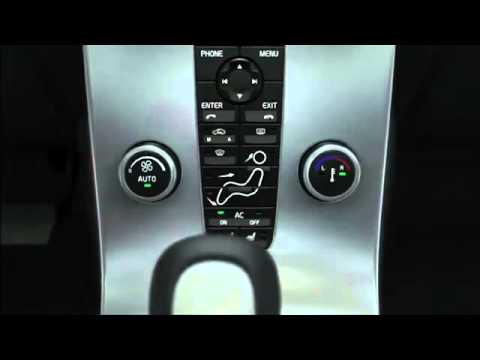
To use the air conditioning in the Volvo C30, first turn on the ignition by rotating the key in the ignition switch. Once the dashboard is illuminate…
Volvo C30
(2006-2013 /
MK 1)
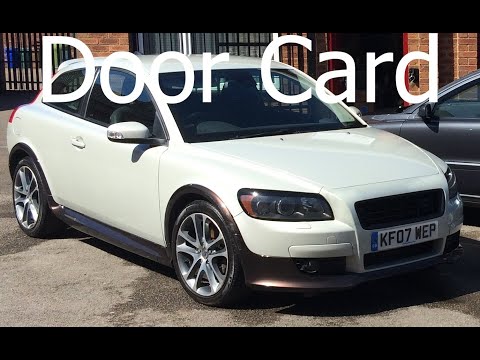
Removing the front driver’s side door panel on a Volvo C30 is done in the same way for the S40 and V50 models; start by removing the inner cover of t…
Other guides you may be interested in
|
How to Open the Bonnet of a Renault Megane if the Lever is Broken?
If the lever that unlocks the bonnet of the Renault Megane is broken or not functioning, there is an emergency procedure to unlock the mechanism: remove the right front grille located at the top of the bumper. Once the grille is removed, you can locate the actuator mechanism: by pulling the spring in this position, you can unlock the actuator, allowing you to lift the bonnet and access the components located inside the engine compartment. You can then close the bonnet simply by lowering it. by ScegliAuto More videos
|

|
For advertising on this site Write to info@scegliauto.com
ScegliAuto is not responsible for any inaccuracy of the data in the lists. To report any inaccuracy or your business (if you own the business in question), please write to info@scegliauto.com
Number of seconds to generate the page: 0.414
(c) ScegliAuto 2026 - info@scegliauto.com - Privacy policy VAT number: IT01247470535 |
