
|
Do it yourself
| |||
| ||||


How to Prepare the Tailgate for Fitting the Spoiler on an Alfa Romeo Mito
Model: Alfa Romeo Mito
MK 1
- Years 2008-2018
In this video tutorial, you can see how to prepare the tailgate for fitting the spoiler on the Alfa Romeo Mito. The necessary materials include: a pencil and a marker, two crosshead screwdrivers, a box of self-tapping screws to attach the spoiler to the boot, and four drill bits to make holes in the tailgate, ranging from smallest to largest. The 10 mm bit is used to enlarge the hole inside the boot so that the screw head can pass through, while the 4.5 mm bit is used to drill the spoiler. Lift the tailgate and remove the plastic caps; this is where the first holes will be made. The first hole will be made with the 3 mm bit, then the 4.5 mm bit will be used. Once the holes are made in the tailgate, drill holes in the spoiler with the 4.5 mm bit, ensuring they align with those on the tailgate. Make two more holes to secure it at the sides, then take measurements and drill the holes (the first hole should be made with the 3 mm bit, followed by the 4.5 mm bit). Now secure the spoiler to the tailgate with the screws.
Updated on 14 July 2026 by ScegliAuto
Video tutorial
Related tutorials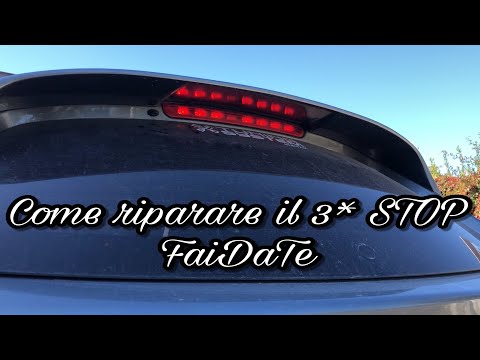
Alfa Romeo Mito
(2008-2018 /
MK 1)
Here’s how to remove the third brake light on an Alfa Romeo Mito. Remove the plastic light with a screwdriver, prying gently. Once the light is free …

Alfa Romeo Mito
(2008-2018 /
MK 1)
Today we will see the instructions that will allow us to disassemble and replace the rear light of the Alfa Romeo Mito. First, we open the rear hatch…
Alfa Romeo Mito
(2008-2018 /
MK 1)
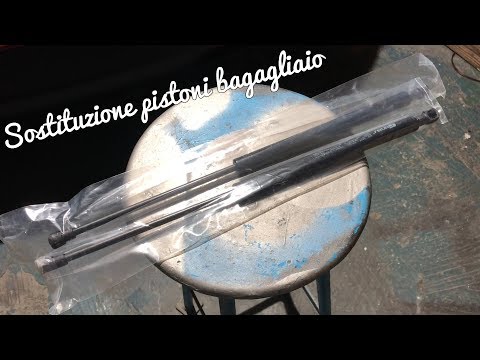
Learn how to remove and replace the gas struts that support and open the tailgate of an Alfa Romeo Mito. To begin: lift the tailgate and secure it (u…
Other guides you may be interested in
|
How to Reset the Tyre Pressure Light on the Opel Grandland X
While driving, if you notice the tyre pressure warning light coming on, first check the actual inflation pressure of the tyres and, if necessary, restore the pressures recommended by the manufacturer. After restoring the correct pressures, you need to reset the warning light that has illuminated on the instrument cluster. To do this, locate the reset button on the lower central console. Press this button and hold it down for at least 3 seconds, after which the low pressure indication will turn off. by ScegliAuto More videos
|
|
For advertising on this site Write to info@scegliauto.com
ScegliAuto is not responsible for any inaccuracy of the data in the lists. To report any inaccuracy or your business (if you own the business in question), please write to info@scegliauto.com
Number of seconds to generate the page: 0.110
(c) ScegliAuto 2026 - info@scegliauto.com - Privacy policy VAT number: IT01247470535 |
