
|
Do it yourself
| |||
| ||||


How to replace the front brake discs on an Audi A3 8P
Model: Audi A3
MK 2, 8P
- Years 2003-2013
In this video we see how to replace the front brake discs of an Audi A3 8P: we can find the discs and pads for example on E-Bay with the code 256844158761 at a price of 63.02 euros per pair, free delivery. We open the brake fluid reservoir, lift the car and loosen the wheel bolts, without removing them. Remove the dust caps from the brake caliper guide, unscrew the caliper bolts, which we will hang on the suspension. Remove the pads and clean the support with a wire brush and WD-40. Now unscrew the disc, clean the hub with a wire brush and apply copper grease to the contact surface. Mount the new disc and tighten the screws to 9Nm. Reassemble the caliper after retracting the pistons: install the new pads and tighten the bolts to 35 Nm. Also reassemble the guide caps. Clean the discs with a specific cleaner spray, reassemble the bolts which we will tighten to 120Nm (in a criss-cross pattern). Pump the brake to restore pressure; check the fluid level.
Posted on 4 August 2025 by ScegliAuto
Video tutorial
Related tutorials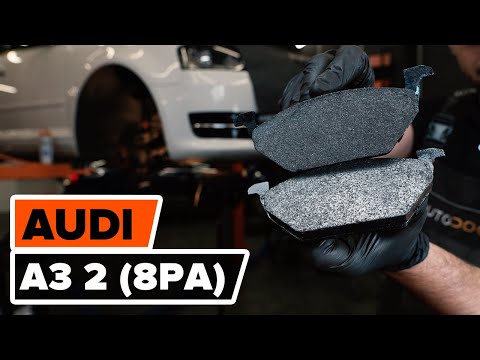
Audi A3
(2003-2013 /
MK 2, 8P)
In this video tutorial, see how to replace the front brake pads on an Audi A3. The first thing you need to do is purchase new brake pads; the next st…
Audi A3
(2003-2013 /
MK 2, 8P)
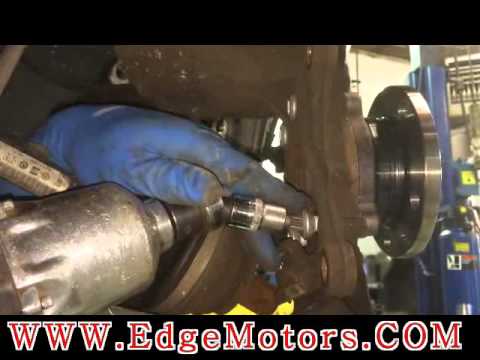
This operation should be performed by lifting the car and ensuring safety, as considerable force is required to remove the hub. You may notice the ne…

Audi A3
(2003-2013 /
MK 2, 8P)
Follow these steps to remove and replace the front fog lights on the Audi A3. First, move to the front of the vehicle and pry the side of the plastic…
Other guides you may be interested in
|
How to Check the Oil Level on a Jeep Renegade?
To check the oil level on a Jeep Renegade, you need to open the bonnet to access the components inside the engine bay: on the lower left side of the engine block, you will find the dipstick for checking the level. This should be pulled out and thoroughly cleaned with a cloth: once cleaned, reinsert it back into its tube and pull it out immediately after. This way, you can check that the oil mark is between the minimum and maximum levels; finally, you can place the dipstick back in its tube. by ScegliAuto More videos
|

|
For advertising on this site Write to info@scegliauto.com
ScegliAuto is not responsible for any inaccuracy of the data in the lists. To report any inaccuracy or your business (if you own the business in question), please write to info@scegliauto.com
Number of seconds to generate the page: 0.587
(c) ScegliAuto 2026 - info@scegliauto.com - Privacy policy VAT number: IT01247470535 |
