
|
Do it yourself
| |||
| ||||


Removal of Brake Servo
Model: Audi A3
MK 2, 8P
- Years 2003-2013
The brake servo provides the necessary vacuum pressure to make brake application easier for the driver. When it does not function properly, there is a significant reduction in braking performance. When this occurs, it is necessary to replace the brake servo. To do this, you will need a socket spanner, a new brake servo, and some adhesive tape. Disconnect the brake line and turn the nut counterclockwise to remove it. It is advisable to mark the brake lines with adhesive tape as they will need to be reinstalled in the same position. Using the socket spanner, remove the brake pump and unscrew the bolts securing the brake servo to the vehicle. Then, pull the pin from the brake servo pedal using pliers. The assembly procedure should be carried out in reverse order.
Updated on 13 February 2026 by ScegliAuto
Video tutorial
Related tutorials
Audi A3
(2012-2019 /
8V, MK 3)
The steps to remove the rear door panel of the Audi A3 are a very simple and quick operation to perform independently, also thanks to our short video…

Audi A3
(2012-2019 /
8V, MK 3)
Today we will explain how to replace the rear lights of the Audi A3 model 8v independently. To perform the replacement of the lights, we need to open…

Audi A3
(2003-2013 /
MK 2, 8P)
It will be possible to replace the external rearview mirror of the Audi A3 by prying with an object to detach the triangular internal trim panel at t…
Other guides you may be interested in
|
Frequently Asked QuestionsWhere is the Fuel Filter Located in a Volvo XC60?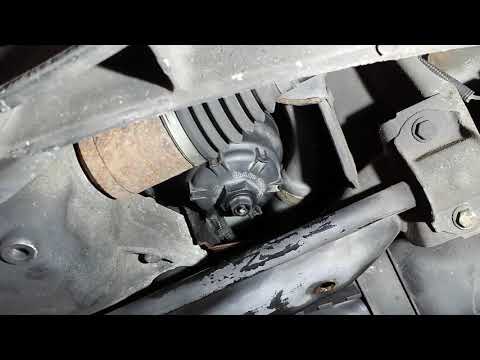
In this video, you will see where the fuel filter is located in a Volvo XC60 and how to proceed if you need to replace it. As shown, the filter is positioned at the lower part of the engine, right between the left half-shaft and the sway bar attachment. To replace the filter, first, go underneath the vehicle, taking all necessary safety precautions. Then, using an 18mm wrench, open the drain valve and allow any water present to escape. Next, unscrew the housing, remove the old filter, insert the replacement along with a new gasket, and reassemble everything. by ScegliAuto More videos
|

|
For advertising on this site Write to info@scegliauto.com
ScegliAuto is not responsible for any inaccuracy of the data in the lists. To report any inaccuracy or your business (if you own the business in question), please write to info@scegliauto.com
Number of seconds to generate the page: 0.268
(c) ScegliAuto 2026 - info@scegliauto.com - Privacy policy VAT number: IT01247470535 |
