
|
Do it yourself
| |||
| ||||


How to Remove and Replace the Rear Brake Rotor on a BMW X3
Model: BMW X3
MK 1, E83
- Years 2003-2010
Let's see how to remove and replace the rear brake rotor on a BMW X3. First, lift the vehicle on a column lift to the desired height. Next, remove the wheel using a socket wrench or air impact wrench with the respective lug nuts. Unscrew the caliper lock bolt; remove the caliper from the wheel hub. Use a socket wrench to detach the caliper bracket from the wheel hub. Once the brake rotor is free, unscrew the screws with a wrench and detach the rotor from the wheel hub. Replace with new parts (always install original and compliant parts) and prepare to install the new rotor along with the respective brake pads, caliper, caliper bracket, etc. Proceed with the reverse assembly of the operations.
Updated on 3 March 2026 by ScegliAuto
Video tutorial
Related tutorials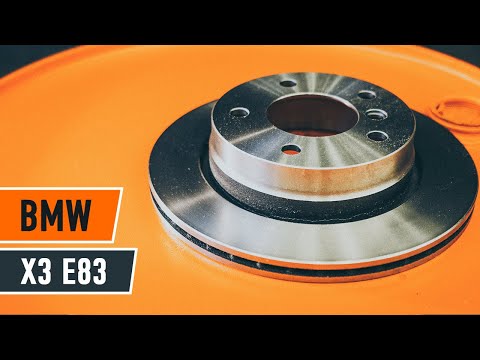
BMW X3
(2003-2010 /
MK 1, E83)
Let's see how to remove the front brake rotor on a BMW X3. Position your car on a column lift and raise it to a comfortable height for working. Loose…
BMW X3
(2003-2010 /
MK 1, E83)
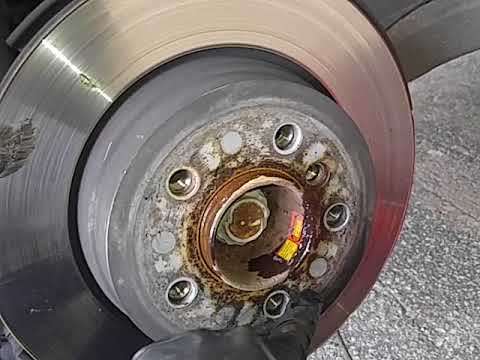
How do you remove the brake rotor from the BMW X3? Let's see how to take the rotor off the hub of the vehicle. Lift the vehicle with a jack and remov…

BMW X3
(2003-2010 /
MK 1, E83)
To reset the brake light on a BMW X3 (this procedure also applies to the 3 Series, 5 Series, and X5), first ensure that the brake pads have been repl…
Other guides you may be interested in
|
How to reset the tyre pressure warning light on the Suzuki Jimny?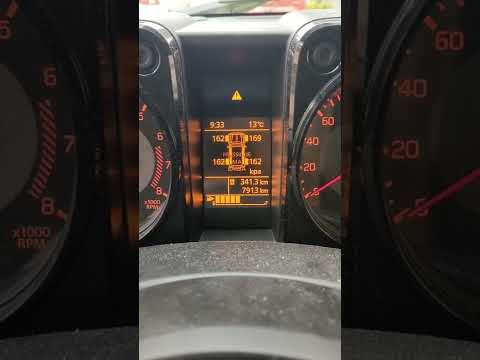
To reset the tyre pressure warning light on the Suzuki Jimny, first inflate the tyres to the pressure value indicated on the corresponding sticker: this is located at the bottom of the driver's door pillar. Once the tyres are inflated, insert the ignition key and turn on the instrument panel: select the screen that indicates the tyre pressures, checking that the values change. After a few seconds, the tyre pressure warning light will automatically turn off. by ScegliAuto More videos
|
|
For advertising on this site Write to info@scegliauto.com
ScegliAuto is not responsible for any inaccuracy of the data in the lists. To report any inaccuracy or your business (if you own the business in question), please write to info@scegliauto.com
Number of seconds to generate the page: 0.099
(c) ScegliAuto 2026 - info@scegliauto.com - Privacy policy VAT number: IT01247470535 |
