
|
Do it yourself
| |||
| ||||



How to install a courtesy light that projects the logo on the door of our BMW 1 Series
Model: BMW Serie 1
F21, MK 2, F20
- Years:
2011, 2012, 2013, 2014, 2015, 2016, 2017, 2018, 2019
Video tutorial
In this video, we see how to replace the courtesy lights, which are located under the doors of the BMW 1 Series, with lights that project the BMW logo. Under the door, we find the small courtesy light that we intend to replace. We can find the kit for all four doors, for example on Amazon with the code B0CBK6NPJN at a price of 21.99 euros, with free delivery for Prime customers. The light we intend to remove is simply inserted, so it will be enough to insert a small flathead screwdriver, from the outside of the door, into the small slot that we can find on the outside and the light will come off easily. Disconnect the electrical connector and take the new light: insert the accompanying cable and then connect it to the connector. Insert the light in its place, making sure to tuck away any extra cables. Repeat on all four doors and enjoy the result.
Posted on 21 June 2025 by ScegliAuto
Related tutorials
BMW Serie 1
(2004-2013 /
E81, E82, MK 1, E87)
Today's guide illustrates the steps to remove and replace the interior light fitting and its bulbs of the BMW 1 Series. First, get into the vehicle a…

BMW Serie 1
(2011-2019 /
F21, MK 2, F20)
These brief and simple steps will show you the procedure for removing and replacing the front manufacturer badge on a BMW 1 Series. First, move to th…
BMW Serie 1
(2011-2019 /
F21, MK 2, F20)
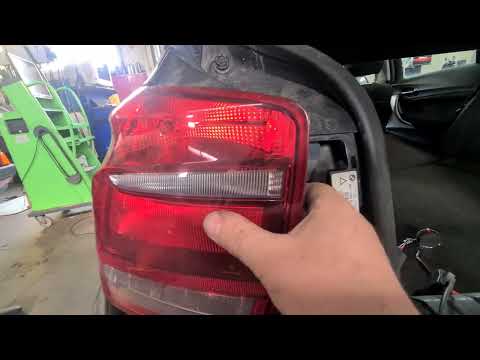
To replace the rear light on a BMW 1 Series, start by opening the tailgate and removing the interior trim covering the rear of the bodywork. Locate t…
Other guides you may be interested in |
Frequently Asked QuestionsHow to Remove the Rear Seat of a Hyundai Tucson?
To remove the rear seat of a Hyundai Tucson, follow these steps. Start by moving the front seats to their most forward position to gain space. Next, locate the release lever on the underside of the rear seat, near the floor. Press this lever down while pulling the seat upwards to unlock it from the anchor pins. Once unlocked, tilt the seat upwards and forwards to remove it from its position. Repeat this process for both sides of the rear seat. Be careful of any electrical cables or components that may be connected to the seat during removal. Once the rear seat is removed, the disassembly is complete. by ScegliAuto More videos
|
|
For advertising on this site Write to info@scegliauto.com
ScegliAuto is not responsible for any inaccuracy of the data in the lists. To report any inaccuracy or your business (if you own the business in question), please write to info@scegliauto.com
Number of seconds to generate the page: 0.009
(c) ScegliAuto 2026 - info@scegliauto.com - Privacy policy VAT number: IT01247470535 |
