
|
Do it yourself
| |||
| ||||


Front Brake Disc and Pad Replacement
Model: BMW Serie 3
E46
- Years:
1998, 1999, 2000, 2001, 2002, 2003, 2004, 2005, 2006
Video tutorial
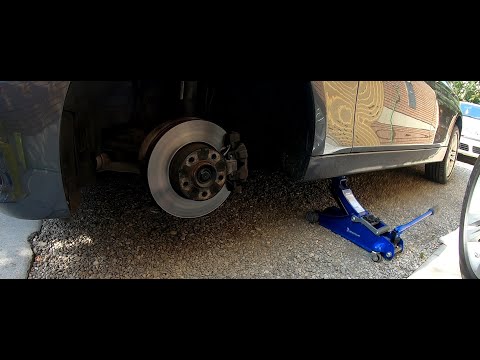
Loosen the front wheel bolts before lifting the vehicle; then lift the vehicle with a jack and remove the wheel (it is recommended to use a jack stand). Using a flathead screwdriver, disengage the retaining spring of the brake pads. Next, unscrew the caliper mounting bolts (located at the rear), pry between the disc and the pads to retract the caliper piston, and remove the caliper along with the pads after disconnecting the wear sensor connector from its housing. Also, unscrew the caliper bracket bolts (also located at the rear) and remove it. Then, unscrew the brake disc mounting bolt from the hub and remove it, using a rubber mallet if necessary. Clean the hub of any rust debris, apply grease to prevent new rust formation, and insert the new disc (after cleaning it with the appropriate degreasing spray), aligning the holes and tightening the corresponding mounting bolt. Reassemble the caliper bracket, reposition the brake caliper after fully retracting the piston with the appropriate tool and inserting the new pads with the wear sensor; finally, reattach the retaining spring.
Updated on 4 February 2026 by ScegliAuto
Related tutorials
BMW Serie 3
(1998-2006 /
E46)
For this car model, the rear brake disc also serves as a drum for the parking brake shoes: timely and accurate maintenance therefore requires both th…
BMW Serie 3
(2012-2019 /
F31, F30)
This tutorial shows how to replace the front brake pads on a BMW F30. The initial step is to remove the caliper pin and then the bolts using a 8mm he…

BMW Serie 3
(2005-2013 /
E92, E90, E91)
This video shows the reset procedure for the brake pad maintenance warning light on the BMW 3 Series E90, as this light remains on even after replaci…
Other guides you may be interested in
|
How to Reset the Tire Pressure Light on a MG ZS?
On the instrument cluster of the MG ZS, the tire pressure light that appears can be reset by inflating the tires to the correct pressure: this value will be indicated on the sticker attached to the driver's door pillar. Once the tires have been properly inflated, you can turn on the instrument cluster and navigate through the menu until you find the option that indicates tire pressure: if this screen shows the new values, the light will turn off; otherwise, you will need to drive for a few miles so that the sensors can read the new values and turn off the light afterward. by ScegliAuto More videos
|
|
For advertising on this site Write to info@scegliauto.com
ScegliAuto is not responsible for any inaccuracy of the data in the lists. To report any inaccuracy or your business (if you own the business in question), please write to info@scegliauto.com
Number of seconds to generate the page: 0.067
(c) ScegliAuto 2026 - info@scegliauto.com - Privacy policy VAT number: IT01247470535 |
