
|
Do it yourself
| |||
| ||||


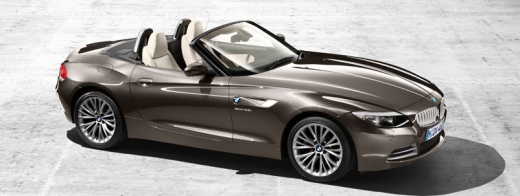
Cup Holder: How to Install it in the BMW Z4 DIY
Model: BMW Z4
E89
- Years:
2009, 2010, 2011, 2012, 2013, 2014, 2015, 2016
Video tutorial
On the BMW Z4, the DIY cup holder is installed by following the steps shown in the video. After locating the mounting position on the center console/tunnel, prepare the surface and check the clearance concerning the shifter, handbrake, and controls. Position the support (3D print or adapter) and proceed to secure it with the system highlighted on screen (screws/clips or technical double-sided tape), maintaining alignment with the console profiles. Once tightening is complete, insert the cup holder body, check the opening/closing of the flaps or the extraction of the drink holder, and perform a practical test with a container. Finally, ensure there are no interferences with the seatbelt, seats, or levers, and finish with any covers or edges included in the kit.
Posted on 6 June 2026 by ScegliAuto
Related tutorials
BMW Z4
(2002-2008 /
E85, E86)
Do you want to replace the shift knob on your BMW Z Series? Here’s how to proceed with the replacement: First, take the knob and position it vertical…

BMW Z4
(2002-2008 /
E85, E86)
Today, follow these main instructions to remove and replace the convertible top motor of the BMW Z4 in a few simple steps. First, remove the converti…

BMW Z4
(2002-2008 /
E85, E86)
Today, you will learn a very simple task that many do not know, which is replacing the shift knob on a BMW Z4 coupe. Put the gear lever in "D" for "D…
Other guides you may be interested in
|
How to Remove the Rear Seat of a Hyundai Tucson?
To remove the rear seat of a Hyundai Tucson, follow these steps. Start by moving the front seats to their most forward position to gain space. Next, locate the release lever on the underside of the rear seat, near the floor. Press this lever down while pulling the seat upwards to unlock it from the anchor pins. Once unlocked, tilt the seat upwards and forwards to remove it from its position. Repeat this process for both sides of the rear seat. Be careful of any electrical cables or components that may be connected to the seat during removal. Once the rear seat is removed, the disassembly is complete. by ScegliAuto More videos
|
|
For advertising on this site Write to info@scegliauto.com
ScegliAuto is not responsible for any inaccuracy of the data in the lists. To report any inaccuracy or your business (if you own the business in question), please write to info@scegliauto.com
Number of seconds to generate the page: 0.025
(c) ScegliAuto 2026 - info@scegliauto.com - Privacy policy VAT number: IT01247470535 |
