
|
Do it yourself
| |||
| ||||


Replacing Front Headlight Assembly Clips
Model: BMW Serie 5
E39
- Years 1995-2003
This video shows how to fix any front headlight assemblies that are misaligned with the body or not securely fastened, causing excessive vibrations. After you have removed the front headlight assembly/assemblies, carefully check the plastic clips on the headlight frame. There are two different types of clips: white and black. Over time and with frequent removals, they can break and cause issues with securing profiles or supports for the headlight assemblies. Proceed to remove the unusable clips using a pointed tool to force the clip out of its seat. Replace the broken clips with new ones by pressing them in, paying attention to the type of original clips and the direction they were inserted originally.
Updated on 9 February 2026 by ScegliAuto
This video is currently unavailable
Related tutorials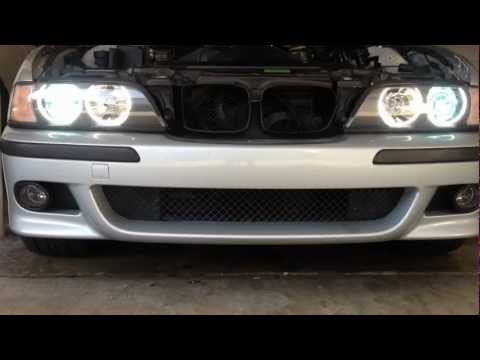
BMW Serie 5
(1995-2003 /
E39)
To customize your car with LED position lights known as "angel eyes," first check how many wires need to be connected. Perform a test with temporary …
BMW Serie 5
(1995-2003 /
E39)
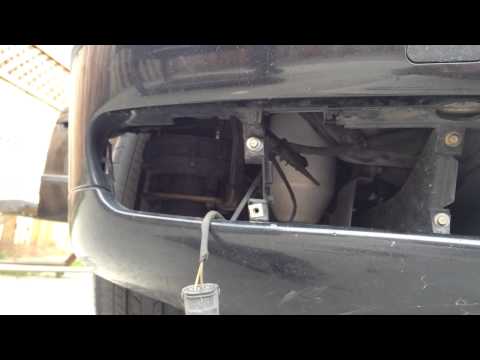
To remove the fog lights integrated into the bumper, pry with a flat blade tool on the clips and remove a section of the lower grille adjacent to the…
BMW Serie 5
(1995-2003 /
E39)
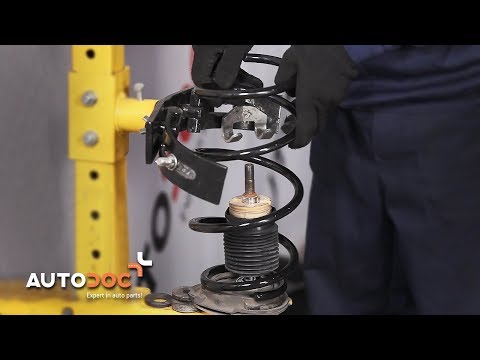
To replace the front shock absorber springs, you need to remove the shock absorbers and have the appropriate clamps to compress them. Start by liftin…
Other guides you may be interested in
|
How to Replace the Remote Battery for the Volvo XC40?
In this tutorial, you will see how to replace the battery in the remote for the Volvo XC40, a very simple and quick operation. For this, you will need a replacement battery of type CR2032 and possibly a small flathead screwdriver. First, remove the front cover by pressing the button on the metal ring, then locate the second button, press it as well, and remove the opposite cover. Next, open the circular cap, take out the old battery, and insert the new one in the opposite direction. Finally, reassemble everything. by ScegliAuto More videos
|
|
For advertising on this site Write to info@scegliauto.com
ScegliAuto is not responsible for any inaccuracy of the data in the lists. To report any inaccuracy or your business (if you own the business in question), please write to info@scegliauto.com
Number of seconds to generate the page: 0.394
(c) ScegliAuto 2026 - info@scegliauto.com - Privacy policy VAT number: IT01247470535 |
