
|
Do it yourself
| |||
| ||||


How to Repair Cracks and Remove Condensation from BMW 5 Series Headlights
Model: BMW Serie 5
F11, F10
- Years 2010-2017
In this video, you will learn how to repair cracks and remove condensation from the Xenon headlights of a BMW 5 Series. Condensation in Xenon headlights is an urgent issue because it corrodes the control unit. There is a micro-crack in the headlight that allows humid air to enter, causing condensation inside. A diagnosis is made using a smoke test: remove the bumper and headlight, then connect a machine that pushes smoke inside to see where it escapes (specifically, from the edge of the lens). Clean the identified crack, apply a silicone sealant for headlights (which can withstand high temperatures), and let it dry thoroughly. Disassemble the headlight control module and inspect it for water damage; leave the headlight open to dry completely, and then repeat the smoke test to ensure the repair was effective and there are no more leaks. You can then reassemble the headlight.
Posted on 13 August 2026 by ScegliAuto
Video tutorial
Related tutorials
BMW Serie 5
(2010-2017 /
F11, F10)
Today, you will see the instructions that will allow you to disassemble the front headlight and remove any condensation from the BMW 5 Series. First,…
BMW Serie 5
(2003-2010 /
E61, E60)
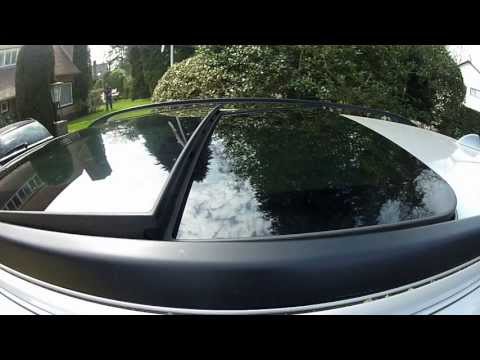
In this video tutorial, you will learn how to close and repair the sunroof of the BMW 5 Series by following the instructions below. First, get inside…

BMW Serie 5
(1995-2003 /
E39)
In this tutorial, we can see how to adjust the front headlights on the BMW 5 Series, an extremely simple and quick operation. First of all, we positi…
Other guides you may be interested in
|
How to Check the Oil Level on a Jeep Renegade?
To check the oil level on a Jeep Renegade, you need to open the bonnet to access the components inside the engine bay: on the lower left side of the engine block, you will find the dipstick for checking the level. This should be pulled out and thoroughly cleaned with a cloth: once cleaned, reinsert it back into its tube and pull it out immediately after. This way, you can check that the oil mark is between the minimum and maximum levels; finally, you can place the dipstick back in its tube. by ScegliAuto More videos
|

|
For advertising on this site Write to info@scegliauto.com
ScegliAuto is not responsible for any inaccuracy of the data in the lists. To report any inaccuracy or your business (if you own the business in question), please write to info@scegliauto.com
Number of seconds to generate the page: 0.114
(c) ScegliAuto 2026 - info@scegliauto.com - Privacy policy VAT number: IT01247470535 |
