
|
Do it yourself
| |||
| ||||


Replacing Valve Guide Seals
Model: BMW Serie 3
E46
- Years 1998-2006
Before proceeding with the replacement of the valve guide seals, ensure the surfaces are perfectly flat using a straight edge and a valve feeler gauge. Once verified, compress the valve return spring with a spring clamp and remove the valve itself to proceed with the seal replacement (lubricate both the seal and the valve with clean oil).
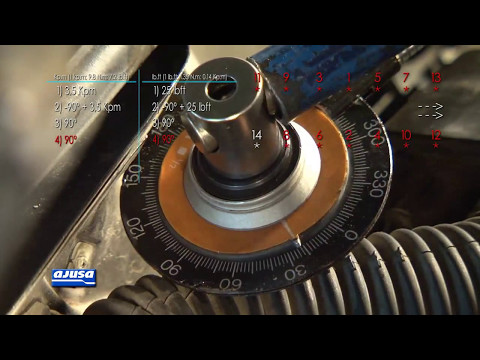
Also, check the surface of the cylinder base, re-tap the threads of the head bolt holes without contaminating the cylinders with debris; check the relative position of the pistons concerning the base and proceed with the installation of the new gasket and the cylinder head, tightening the bolts in a cross pattern with a torque wrench. Insert the new rocker arm support pins and then the new camshaft, aligning the timing marks. Proceed to install the turbocharger, replacing gaskets and the oil seal, and complete with the installation of the valve cover and the intake manifold, inserting the new gaskets.
Updated on 12 February 2026 by ScegliAuto
Video tutorial
Related tutorials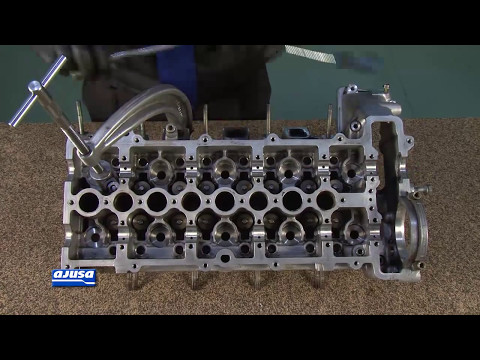
BMW Serie 3
(1998-2006 /
E46)
To replace the valve stem seals, first obtain a valve spring compressor. This tool allows you to compress the valve return spring, separate the retai…
BMW Serie 3
(1990-2001 /
E36)
When you need to rebuild an engine or resurface a cylinder head for gasket replacement, it is good practice to also replace the valve stem seals: the…
BMW Serie 3
(1990-2001 /
E36)
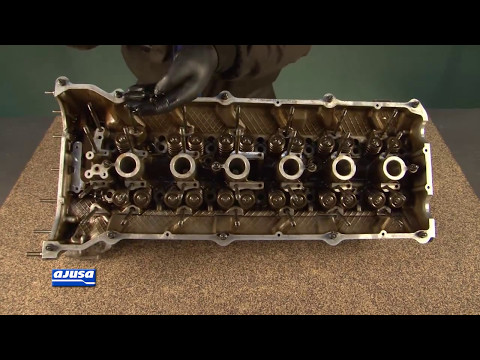
Before installing the cylinder head, check the flatness of the surface using a straightedge and a feeler gauge; proceed to replace the valve guide se…
Other guides you may be interested in
|
Where is the Fuel Filter Located in a Volvo XC60?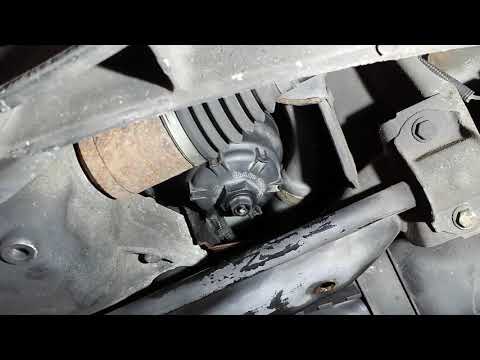
In this video, you will see where the fuel filter is located in a Volvo XC60 and how to proceed if you need to replace it. As shown, the filter is positioned at the lower part of the engine, right between the left half-shaft and the sway bar attachment. To replace the filter, first, go underneath the vehicle, taking all necessary safety precautions. Then, using an 18mm wrench, open the drain valve and allow any water present to escape. Next, unscrew the housing, remove the old filter, insert the replacement along with a new gasket, and reassemble everything. by ScegliAuto More videos
|
|
For advertising on this site Write to info@scegliauto.com
ScegliAuto is not responsible for any inaccuracy of the data in the lists. To report any inaccuracy or your business (if you own the business in question), please write to info@scegliauto.com
Number of seconds to generate the page: 0.127
(c) ScegliAuto 2026 - info@scegliauto.com - Privacy policy VAT number: IT01247470535 |
