
|
Do it yourself
| |||
| ||||


Steering Angle Sensor Replacement
Model: BMW Serie 3
E46
- Years 1998-2006
The steering angle sensor for this vehicle model is a potentiometer with sliding contacts located along the steering column at the rear. Because it has sliding contacts, the contact blades and tracks tend to wear out, causing false contacts and irregularities in the measurement of the steering angle. To remove it, first, take off the portion of the dashboard directly under the steering wheel. Then, disconnect the joint connecting the steering column to the steering gearbox to free the shaft of the column. Next, remove the retaining ring at the end of the steering column shaft, carefully extract the plastic bushings without damaging them, and disconnect the steering angle sensor by releasing the associated cable.
Updated on 17 February 2026 by ScegliAuto
Video tutorial
Related tutorials
BMW Serie 3
(1998-2006 /
E46)
This guide will show you how to remove and replace the steering angle sensor on a BMW 3 Series. First, get inside the vehicle and start by removing t…

BMW Serie 3
(2005-2013 /
E91, E90, E92)
In order to replace the steering angle sensor of the BMW 3 Series, you need to release the pins located at the back of the steering wheel, so that th…
BMW Serie 3
(1998-2006 /
E46)
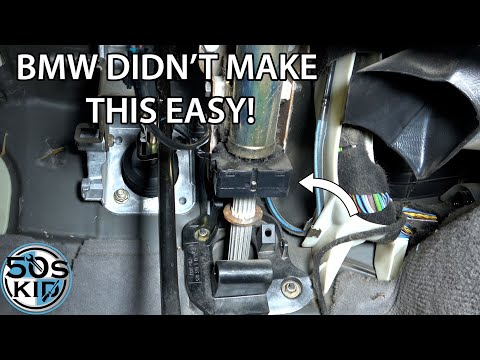
In this guide, you will learn the procedure for removing and replacing the steering angle sensor on a BMW 3 Series. First, get inside the vehicle and…
Other guides you may be interested in
|
How to reset the tyre pressure warning light on the Suzuki Jimny?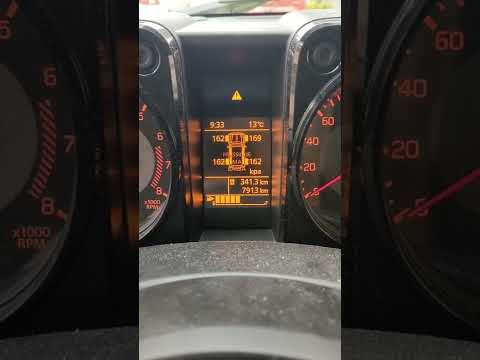
To reset the tyre pressure warning light on the Suzuki Jimny, first inflate the tyres to the pressure value indicated on the corresponding sticker: this is located at the bottom of the driver's door pillar. Once the tyres are inflated, insert the ignition key and turn on the instrument panel: select the screen that indicates the tyre pressures, checking that the values change. After a few seconds, the tyre pressure warning light will automatically turn off. by ScegliAuto More videos
|
|
For advertising on this site Write to info@scegliauto.com
ScegliAuto is not responsible for any inaccuracy of the data in the lists. To report any inaccuracy or your business (if you own the business in question), please write to info@scegliauto.com
Number of seconds to generate the page: 0.139
(c) ScegliAuto 2026 - info@scegliauto.com - Privacy policy VAT number: IT01247470535 |
