
|
Do it yourself
| |||
| ||||


Replacing Central Air Vents
Model: BMW Serie 5
E39
- Years 1995-2003
In most cases, replacing the vents is due to broken fins that direct the airflow. First, open the glove compartment and detach the clips to free the door by lowering it almost to the floor. Once done, remove the plastic cover as shown in the images. At this point, disconnect the cable, remembering the correct position of the support. Now you can pull the vents from their housing. To do this without causing damage, it is advisable to also remove the stereo, allowing you to push from the back with your hands, or with a firm motion, you can also detach them directly from the front. When replacing the part, be careful because even if they appear identical, some vents have supports that others do not. Car model: BMW E39 M5
Updated on 14 February 2026 by ScegliAuto
Video tutorial
Related tutorials
BMW Serie 5
(2010-2017 /
F11, F10)
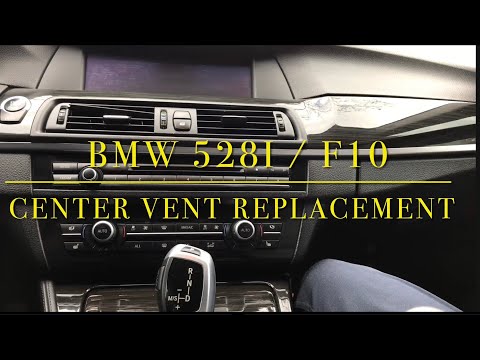
The instructions in this guide will show us how to disassemble and replace the central air vents of the BMW 5 Series. First, we get into the car and …
BMW Serie 5
(2010-2017 /
F11, F10)
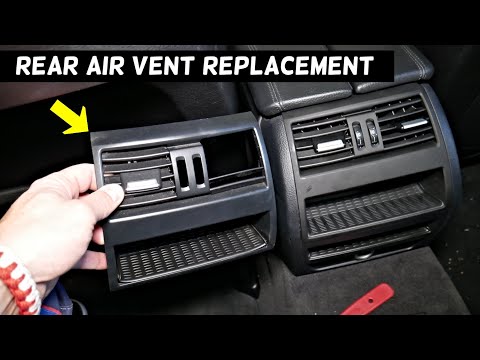
Replacing the air vents is a very simple task on any car model. Although this example shows the removal of the rear vents on a BMW 5 Series F10, the …
BMW Serie 5
(2010-2017 /
F11, F10)
Using a plastic wedge, remove the entire trim panel that surrounds the center air vents and extends above the glove compartment. This plastic piece i…
Other guides you may be interested in
|
How to Replace the Remote Battery for the Volvo XC40?
In this tutorial, you will see how to replace the battery in the remote for the Volvo XC40, a very simple and quick operation. For this, you will need a replacement battery of type CR2032 and possibly a small flathead screwdriver. First, remove the front cover by pressing the button on the metal ring, then locate the second button, press it as well, and remove the opposite cover. Next, open the circular cap, take out the old battery, and insert the new one in the opposite direction. Finally, reassemble everything. by ScegliAuto More videos
|
|
For advertising on this site Write to info@scegliauto.com
ScegliAuto is not responsible for any inaccuracy of the data in the lists. To report any inaccuracy or your business (if you own the business in question), please write to info@scegliauto.com
Number of seconds to generate the page: 0.233
(c) ScegliAuto 2026 - info@scegliauto.com - Privacy policy VAT number: IT01247470535 |
