
|
Do it yourself
| |||
| ||||


Instructions to Reset the Tire Pressure Light
Model: BMW Serie 3
E92, E90, E91
- Years 2005-2013
The procedure to reset the tire pressure warning light is manual and is performed using the buttons on the turn signal lever: this procedure must be executed after ensuring that the inflation pressure of all four tires is correct, according to the label on the door pillar; after verifying the inflation pressure, insert the key and press the start button without starting the engine, then scroll through the menu items using the front button on the lever (the one with the up and down arrow symbols) until you see the tire pressure warning light, and hold the side button until the check mark appears on the RESET command.
Updated on 16 February 2026 by ScegliAuto
Video tutorial
Related tutorials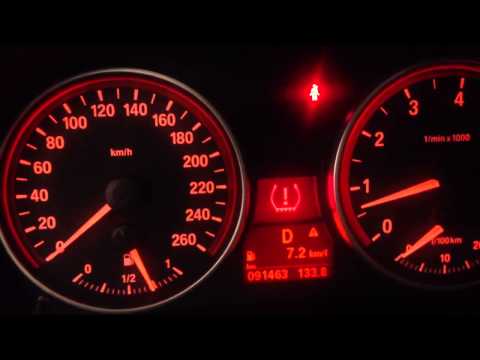
BMW Serie 3
(2005-2013 /
E92, E90, E91)
In this video, see how to reset the tire pressure light on a BMW 3 Series. To reset the tire pressure light: turn on the vehicle's ignition, use the …
BMW Serie 3
(2005-2013 /
E92, E90, E91)
In this guide we will see the instructions to reset the tire pressure warning light on a BMW 3 Series E90 - E91; before carrying out this operation, …
BMW Serie 3
(2005-2013 /
E92, E90, E91)
In this video tutorial we will see how to reset the tire pressure warning light on a BMW 3 Series E90. Before intervening with the reset procedure, i…
Other guides you may be interested in
|
How to Replace the Front Headlamp on a Fiat Bravo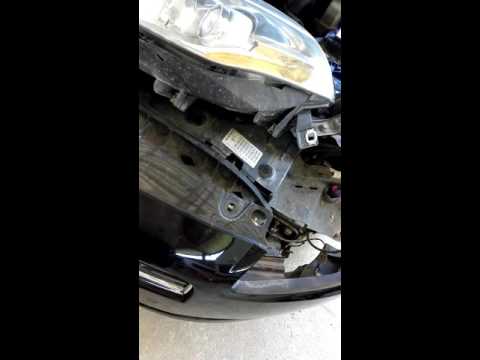
First, release the bonnet using the lever, then lift it. To remove the headlamp, you will need to dismantle a significant part of the front bumper. Start by removing the inner wheel arch liner to access the screw that secures the bumper to the wing. Next, remove the screws located on the top of the bumper. This will allow you to unscrew all the bolts securing the headlamp, including the one hidden by the bumper. Finally, disconnect the connector at the back of the headlamp and carry out the necessary replacements. by ScegliAuto More videos
|

|
For advertising on this site Write to info@scegliauto.com
ScegliAuto is not responsible for any inaccuracy of the data in the lists. To report any inaccuracy or your business (if you own the business in question), please write to info@scegliauto.com
Number of seconds to generate the page: 0.123
(c) ScegliAuto 2026 - info@scegliauto.com - Privacy policy VAT number: IT01247470535 |