
|
Do it yourself
| |||
| ||||



Video tutorial
If the traction control light illuminates on the dashboard and you feel jerking during startup, there is likely a problem with the torque splitter. However, before rushing to repair the splitter, ensure that all four tires are the same: any differences in tread between the front and rear tires could cause the same issue due to variations in rolling resistance. Once this is confirmed, the jerking during takeoff may be caused by chain stretch within the torque splitter or typical wear on the plastic drive gear. A replacement gear made of bronze is readily available in the aftermarket. To replace it, lift the vehicle, support the splitter, and remove the support bracket. Move the heat shield to access the motor, which resembles a window lifter. Once the motor is on the bench, disassemble and replace the worn gear, then reinstall it. During this repair, it is also recommended to change the oil in the splitter and reset the adaptive parameters of the clutches using a diagnostic tool.
Updated on 16 February 2026 by ScegliAuto
Related tutorials
BMW X3
(2003-2010 /
E83, MK 1)
If you feel jerking, especially during startup or acceleration, and the 4x4 warning light illuminates on the dashboard, there is likely a problem wit…

BMW X3
(2003-2010 /
E83, MK 1)
In this brief guide, you will see the main steps to disassemble and repair the transfer case on the first-generation BMW X3, as well as the X5. First…

BMW X3
(2003-2010 /
E83, MK 1)
If during acceleration the vehicle tends to jerk and the 4x4 and traction control warning lights illuminate on the dashboard, it is likely that the t…
Other guides you may be interested in
|
How to Reset the AdBlue Warning Light on a Peugeot Boxer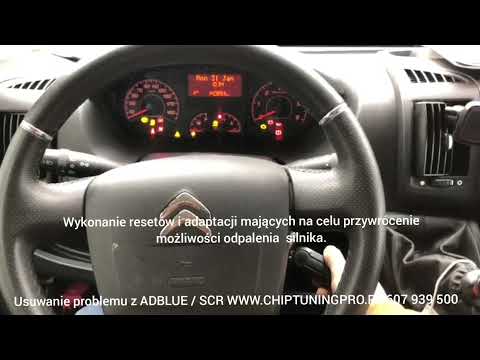
To reset the AdBlue system on a 2018 Peugeot Boxer, follow these steps: Start the engine and ensure the vehicle is parked in a well-ventilated area. Locate the "MENU" button on the dashboard or steering wheel controls. Press and hold the "MENU" button until the menu options appear on the display. Use the arrow buttons or scroll wheel to access the "Vehicle Settings" or "Settings" menu. Select the "AdBlue" or "AdBlue System" option. Look for the "Recharge" or "Reset" option in the AdBlue menu. Once you find the reset option, select it and confirm your choice when prompted. The system will be reset, and a confirmation message may appear on the display. Turn off the engine and wait a few seconds. Restart the engine and check that the AdBlue system has been reset. by ScegliAuto More videos
|
|
For advertising on this site Write to info@scegliauto.com
ScegliAuto is not responsible for any inaccuracy of the data in the lists. To report any inaccuracy or your business (if you own the business in question), please write to info@scegliauto.com
Number of seconds to generate the page: 0.027
(c) ScegliAuto 2026 - info@scegliauto.com - Privacy policy VAT number: IT01247470535 |
