
|
Do it yourself
| |||
| ||||


Front Headlight Repair and Radiator Replacement
Model: BMW Serie 3
E46
- Years 1998-2006
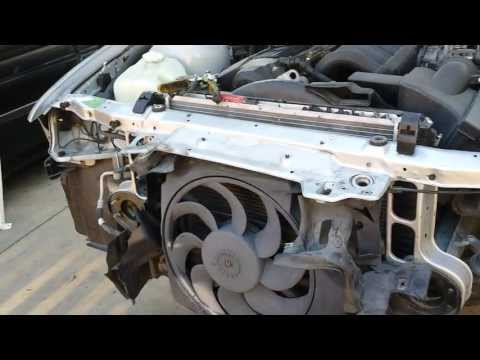
The video shows the consequences of a collision on the front right side of the car (passenger side) and some small tricks to fix the damage without having to replace too many parts. Start by fixing the front headlight, where the ring that gives the lights the typical angel eyes appearance has come loose: once you remove the bumper and the headlight, separate the front glass and reposition the ring in its place, securing it with two-component adhesive and reinforcing the joint with metal mesh. Once you are sure the adhesive has set, clean the edges of the lens and its housing to glue it with sealant. While waiting for the sealant to dry, move on to repairing the air duct in front of the fan: this involves stitching with zip ties, making holes in the two edges to connect and inserting the ties. For the fan, there is little to do; it must be replaced with a new one.
Updated on 16 February 2026 by ScegliAuto
Video tutorial
Related tutorials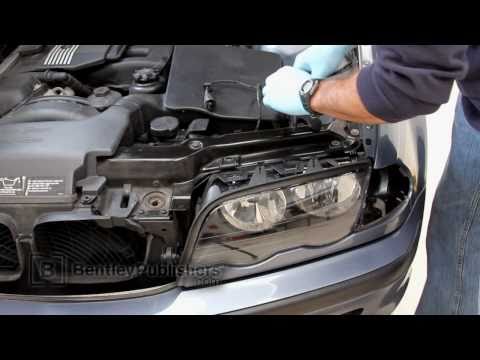
BMW Serie 3
(1998-2006 /
E46)
The video guides you through the repair of the front optical assembly of your vehicle. First, remove the front turn signal as shown. Next, proceed to…
BMW Serie 3
(1990-2001 /
E36)
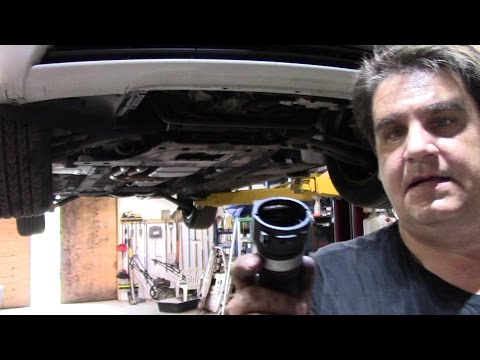
The radiator mounts are actually rubber washers that dampen vibrations and support the radiator itself. To remove and replace these mounts, you need …
BMW Serie 3
(1998-2006 /
E46)
The radiator is a crucial part of the car that cools the fluid coming from the engine block, which would otherwise cause serious damage to the vehicl…
Other guides you may be interested in
|
How to Replace the Window Switch Button on a Mercedes C-Class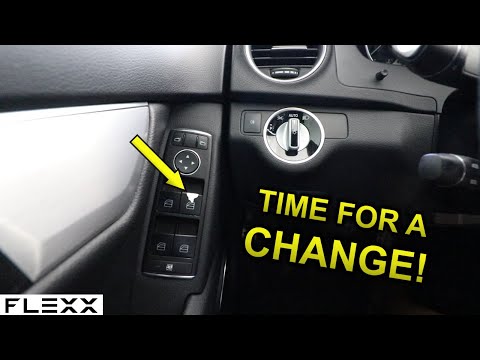
How do you remove the window switch button located in the driver side door panel of a Mercedes C-Class? This video explains how to proceed. Before starting the disassembly, disconnect the battery terminals in the engine compartment (if you need to disconnect electrical connectors). Use a plastic trim tool to pry between the button and the plastic of the switch panel. Once you have removed the button from the switch panel, install the new button inside (push and lock it into the designated plastic). Test the button to ensure it functions correctly. by ScegliAuto More videos
|
|
For advertising on this site Write to info@scegliauto.com
ScegliAuto is not responsible for any inaccuracy of the data in the lists. To report any inaccuracy or your business (if you own the business in question), please write to info@scegliauto.com
Number of seconds to generate the page: 0.067
(c) ScegliAuto 2026 - info@scegliauto.com - Privacy policy VAT number: IT01247470535 |