
|
Do it yourself
| |||
| ||||


How to Blend Existing Paint with a New Body Paint Job
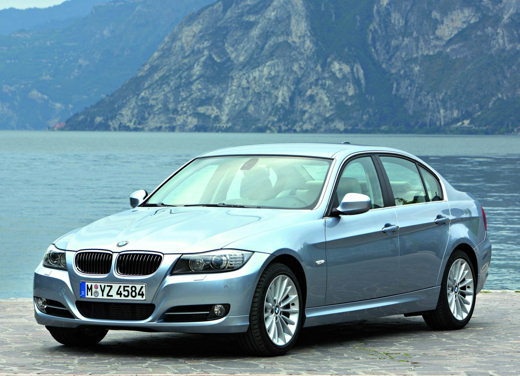
Model: BMW Serie 3
E92, E90, E91
- Years:
2005, 2006, 2007, 2008, 2009, 2010, 2011, 2012, 2013
Video tutorial
Before painting a part of the body, protect the area with plastic sheets secured with masking tape. Use a special liquid to moisten the area to be painted. Pour the paint into the reservoir of the spray gun connected to the compressor and apply the first coat to the body. After about ten minutes, apply a second coat. Now use a specific product to make the paint glossy. Once this work is finished, check for any imperfections where the new paint meets the old paint. If there are any, proceed to remove them using very fine sandpaper soaked in water. Perform this operation gently and carefully. Finally, apply rubbing compound with a suitable tool. The maintenance operation shown in this video is performed on a BMW 3 Series.
Updated on 20 February 2026 by ScegliAuto
Related tutorials
BMW Serie 3
(2005-2013 /
E92, E90, E91)
The fender of your car is one of the body parts most exposed to scratches and other damage. Often, the costs for repainting can be quite high, but to…

BMW Serie 3
(2005-2013 /
E92, E90, E91)
Applying protective wax to the body is an excellent solution to preserve the shine of the paint over time and should be done at least annually. There…

BMW Serie 3
(1998-2006 /
E46)
Before proceeding with polishing the car body, here are some useful tips. Ensure the body is clean and dry: dust residues can scratch, and water or h…
Other guides you may be interested in |
How to Remove the Rear Seat of a Hyundai Tucson?
To remove the rear seat of a Hyundai Tucson, follow these steps. Start by moving the front seats to their most forward position to gain space. Next, locate the release lever on the underside of the rear seat, near the floor. Press this lever down while pulling the seat upwards to unlock it from the anchor pins. Once unlocked, tilt the seat upwards and forwards to remove it from its position. Repeat this process for both sides of the rear seat. Be careful of any electrical cables or components that may be connected to the seat during removal. Once the rear seat is removed, the disassembly is complete. by ScegliAuto More videos
|
|
For advertising on this site Write to info@scegliauto.com
ScegliAuto is not responsible for any inaccuracy of the data in the lists. To report any inaccuracy or your business (if you own the business in question), please write to info@scegliauto.com
Number of seconds to generate the page: 0.019
(c) ScegliAuto 2026 - info@scegliauto.com - Privacy policy VAT number: IT01247470535 |
