
|
Do it yourself
| |||
| ||||



How to open the trunk of a Chevrolet Cruze that remains locked
Model: Chevrolet Cruze
J300, MK 1
- Years:
2009, 2010, 2011, 2012, 2013, 2014, 2015
Video tutorial
In this video we can see how to open the trunk of a Chevrolet Cruze that remains stuck, both in the case it remains stuck open, and in the case it remains stuck closed. Let's see the first scenario: in this case we will need a flathead screwdriver and a hook like the one we see in the video. While turning right and left, pull downwards to unlock the latch. If instead it remains stuck while closed, then it is relatively simple: we will have to enter the vehicle from the rear, fold down the seats and enter the trunk, illuminating it with a flashlight. On the left of the latch, we will find a knob that, illuminated by the flashlight itself, will become visible. Just pull it and the trunk will open.
Posted on 16 January 2025 by ScegliAuto
Related tutorials
Chevrolet Cruze
(2016-2023 /
D2lc, D2lc-K)
Opening the trunk of the Chevrolet Cruze is a very simple and quick operation. On this type of car, a button has been installed near the window switc…

Chevrolet Cruze
(2009-2015 /
J300, MK 1)
If the boot of your Chevrolet Cruze won't open, there is likely a fault with the boot release fuse. To resolve this issue, access the fuse box locate…
Chevrolet Cruze
(2009-2015 /
J300, MK 1)
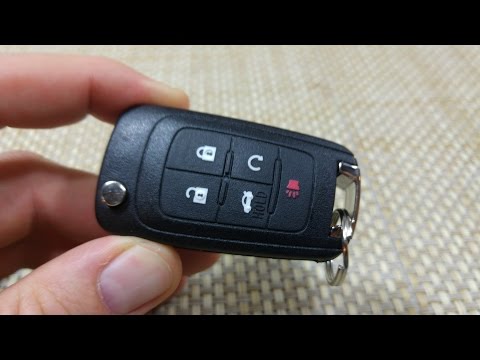
Is the battery of your Chevrolet Cruze key flat? Here’s how to open the key to change the battery. Open the metal key of the Cruze remote and, using …
Other guides you may be interested in
|
How to Remove the Rear Seat of a Hyundai Tucson?
To remove the rear seat of a Hyundai Tucson, follow these steps. Start by moving the front seats to their most forward position to gain space. Next, locate the release lever on the underside of the rear seat, near the floor. Press this lever down while pulling the seat upwards to unlock it from the anchor pins. Once unlocked, tilt the seat upwards and forwards to remove it from its position. Repeat this process for both sides of the rear seat. Be careful of any electrical cables or components that may be connected to the seat during removal. Once the rear seat is removed, the disassembly is complete. by ScegliAuto More videos
|
|
For advertising on this site Write to info@scegliauto.com
ScegliAuto is not responsible for any inaccuracy of the data in the lists. To report any inaccuracy or your business (if you own the business in question), please write to info@scegliauto.com
Number of seconds to generate the page: 0.023
(c) ScegliAuto 2026 - info@scegliauto.com - Privacy policy VAT number: IT01247470535 |
