
|
Do it yourself
| |||
| ||||


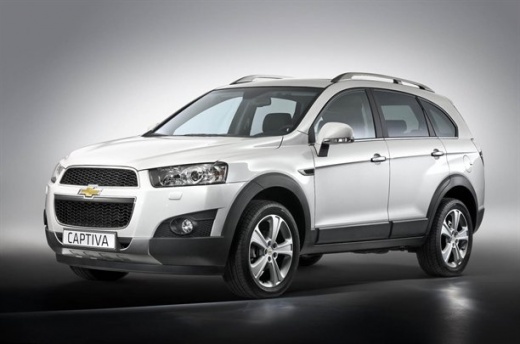
How to Remove the Original Radio from a Chevrolet Captiva
Model: Chevrolet Captiva
MK 1
- Years 2006-2018
How to remove the original radio from a Chevrolet Captiva? Follow these steps carefully in the video: use the original or aftermarket metal keys to remove the car stereo. Insert the keys into the holes on the plastic cover of the stereo, pull the stereo towards you as shown in the video, and carefully extract the radio while being mindful of the various wiring (disconnect the power connectors and the antenna cable). Finally, reinstall the original radio or a generic brand with the appropriate adapter for the input and connection of the connectors.
Updated on 2 March 2026 by ScegliAuto
Video tutorial
Related tutorials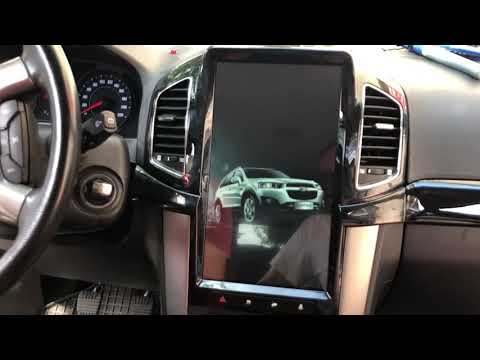
Chevrolet Captiva
(2006-2018 /
MK 1)
In this video tutorial, you will see how to dismantle the original stereo of a Chevrolet Captiva in simple steps and without the use of special tools…
Chevrolet Captiva
(2006-2018 /
MK 1)
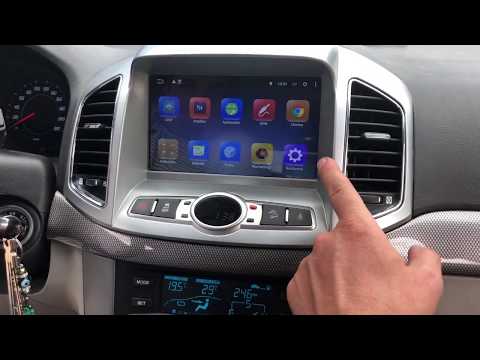
Removing the radio from a Chevrolet Captiva? Let's look at how to take out the radio and install it. Use plastic levers to remove the radio cover pan…
Chevrolet Captiva
(2006-2018 /
MK 1)
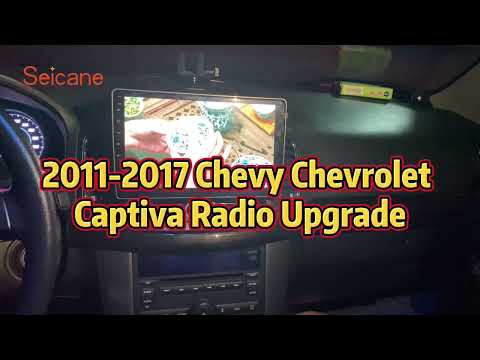
In order to replace the radio of the Chevrolet Captiva, you need to pry with an object so that you can detach the trim that runs along the entire das…
Other guides you may be interested in
|
How to reset the tyre pressure warning light on the Suzuki Jimny?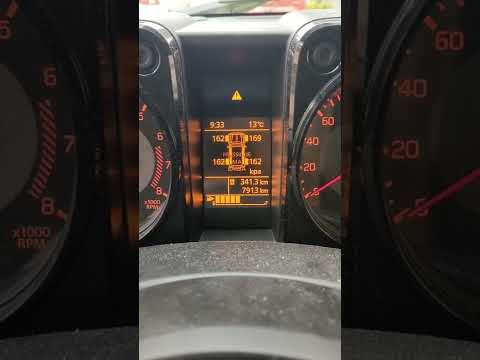
To reset the tyre pressure warning light on the Suzuki Jimny, first inflate the tyres to the pressure value indicated on the corresponding sticker: this is located at the bottom of the driver's door pillar. Once the tyres are inflated, insert the ignition key and turn on the instrument panel: select the screen that indicates the tyre pressures, checking that the values change. After a few seconds, the tyre pressure warning light will automatically turn off. by ScegliAuto More videos
|
|
For advertising on this site Write to info@scegliauto.com
ScegliAuto is not responsible for any inaccuracy of the data in the lists. To report any inaccuracy or your business (if you own the business in question), please write to info@scegliauto.com
Number of seconds to generate the page: 0.205
(c) ScegliAuto 2026 - info@scegliauto.com - Privacy policy VAT number: IT01247470535 |
