
|
Do it yourself
| |||
| ||||


How to change the radiator reservoir of the Chevrolet Matiz yourself.
Model: Chevrolet Matiz
MK 1
- Years:
1998, 1999, 2000, 2001, 2002, 2003, 2004, 2005, 2006, 2007, 2008, 2009
Video tutorial
On the Chevrolet Matiz, the replacement of the radiator reservoir is performed with the engine cold and the engine compartment well-lit. First, disconnect the return hose and free the supply hose from the reservoir, collecting any residual fluid as shown in the video. Then, remove the clips or screws that secure the expansion tank to the support and extract the worn component. Position the new reservoir, ensuring it fits correctly, and reconnect the hoses with their respective clamps, checking that the passages are correct and free of kinks. Finally, fill it up to the MIN/MAX level indicated on the reservoir and briefly start the engine to facilitate natural bleeding, checking for any leaks; complete the level with the engine off once the system has stabilized.
Posted on 11 December 2025 by ScegliAuto
Related tutorials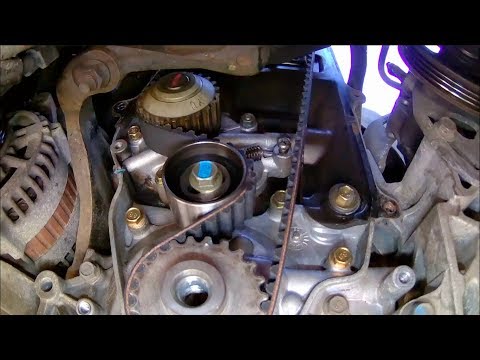
Chevrolet Matiz
(1998-2010 /
MK 1)
This video will teach you how to replace the old timing belt on your Daewoo Matiz with a new one. To facilitate the removal and replacement of the be…
Chevrolet Matiz
(1998-2010 /
MK 1)
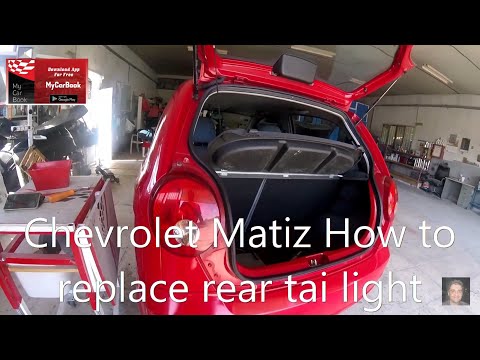
In this simple video tutorial, you will learn how to remove and replace the rear light on a Chevrolet Matiz: the procedure is quick and does not requ…

Chevrolet Matiz
(1998-2010 /
MK 1)
In this brief and simple guide, we will cover the main steps to replace the timing belt of the Chevrolet Matiz 800 cc. First, lift the vehicle and re…
Other guides you may be interested in
|
How to Remove the Rear Seat of a Hyundai Tucson?
To remove the rear seat of a Hyundai Tucson, follow these steps. Start by moving the front seats to their most forward position to gain space. Next, locate the release lever on the underside of the rear seat, near the floor. Press this lever down while pulling the seat upwards to unlock it from the anchor pins. Once unlocked, tilt the seat upwards and forwards to remove it from its position. Repeat this process for both sides of the rear seat. Be careful of any electrical cables or components that may be connected to the seat during removal. Once the rear seat is removed, the disassembly is complete. by ScegliAuto More videos
|
|
For advertising on this site Write to info@scegliauto.com
ScegliAuto is not responsible for any inaccuracy of the data in the lists. To report any inaccuracy or your business (if you own the business in question), please write to info@scegliauto.com
Number of seconds to generate the page: 0.019
(c) ScegliAuto 2026 - info@scegliauto.com - Privacy policy VAT number: IT01247470535 |
