
|
Do it yourself
| |||
| ||||


How to Remove the Front Headlamp on Chevrolet Captiva
Model: Chevrolet Captiva
MK 1
- Years 2006-2018
Removing the front headlamp on a Chevrolet Captiva is a relatively simple task that can be done by disassembling a few components. First, open the front bonnet, and you will see a black plastic trim covering the top of the grille and the bonnet latch mechanism. This will be secured with plastic clips easily visible along the perimeter, which can be removed by prying out the central part with a flat screwdriver. After removing all the clips, the plastic trim should come off easily, providing access to the headlamp brackets, which are secured to the car with pins that, once unscrewed, will allow you to extract the headlamp from its housing. At this point, simply disconnect the power connector located behind the headlamp to remove it completely from the vehicle.
Updated on 29 March 2026 by ScegliAuto
Video tutorial
Related tutorials
Chevrolet Captiva
(2006-2018 /
MK 1)
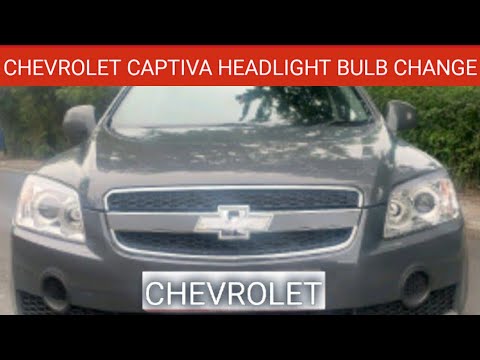
Today we will explain how to remove the right front headlight of the Chevrolet Captiva in order to replace the bulb. To remove the headlight, first o…
Chevrolet Captiva
(2006-2018 /
MK 1)
Do you want to change the bulbs on the Chevrolet Captiva? Let's see how to disassemble the bulbs from inside the front headlamp. Lift the bonnet and …

Chevrolet Captiva
(2006-2018 /
MK 1)
Before you can start, open the rear tailgate of the boot of your Chevrolet Captiva. Begin by removing the rear lights, simply by unscrewing the fixin…
Other guides you may be interested in
|
How to Open the Bonnet on the Lancia Y
To open the bonnet on this vehicle, follow these simple instructions: first, open the driver's door and locate the lever positioned just below the dashboard, marked with an image of the vehicle with the bonnet open. Pull this lever towards you until you hear a "click" indicating the bonnet is released. Next, exit the cabin and stand in front of the bonnet to disengage the safety catch and complete the opening. To do this, slightly lift the bonnet, locate the yellow lever underneath, and pull it to the left to fully release and open the bonnet. by ScegliAuto More videos
|
|
For advertising on this site Write to info@scegliauto.com
ScegliAuto is not responsible for any inaccuracy of the data in the lists. To report any inaccuracy or your business (if you own the business in question), please write to info@scegliauto.com
Number of seconds to generate the page: 0.288
(c) ScegliAuto 2026 - info@scegliauto.com - Privacy policy VAT number: IT01247470535 |
