
|
Do it yourself
| |||
| ||||


How to reset the oil light on the Chevrolet Aveo
Model: Chevrolet Aveo
T200, MK 1
- Years 2002-2011
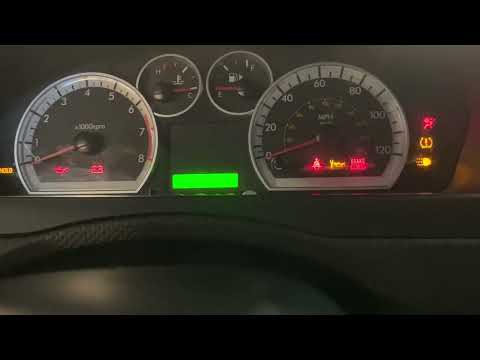
If you have just had your Chevrolet Aveo serviced regularly but the corresponding yellow warning light continues to come on steadily then you must necessarily proceed with a manual reset. Let's find out how together. First, make sure that the car is turned off and that all doors are closed properly. Then insert the key, switch on the instrument panel and press the accelerator pedal three consecutive times within five seconds. At this point the service light will start flashing and as soon as it goes off, the procedure will finally be completed.
Posted on 6 February 2023 by ScegliAuto
Video tutorial
Related tutorials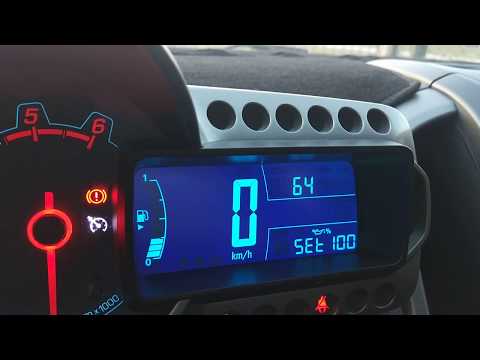
Chevrolet Aveo
(2002-2011 /
T200, MK 1)
Let's see how to reset the oil warning light on a Chevrolet Aveo. We turn on the instrument panel with the key to see the oil warning light. We use t…
Chevrolet Aveo
(2002-2011 /
T200, MK 1)
In this video, it is shown how to reset the oil change indicator light on the Chevrolet Aveo. It is recommended to perform this procedure only after …

Chevrolet Aveo
(2002-2011 /
T200, MK 1)
In this video, we see how to reset the service light on a 2009 Chevrolet Aveo, MK1: we turn on the instrument panel by turning the ignition key to po…
Other guides you may be interested in
|
Installation of Upgraded Intercooler Radiator with Pipes
Lift the vehicle on suitable axle stands, remove the front wheels, and then the front bumper and grille. Proceed to remove the front headlights; drain the coolant, remove the intercooler radiator and the hoses connecting it to the intake system. Position the new intercooler radiator in the grille, temporarily securing it with cable ties, and mark with a marker the part of the metal that needs to be removed to allow the new hoses to pass through. Cut the marked portion of metal and apply a gasket to the edge. Remove the inner cover of the bumper and position it near the radiator to identify any interfering parts to eliminate: again, apply a gasket to the edge of the cut. Create brackets for securing the new radiator and proceed with the installation of the connecting pipes from the radiator to the intake, shaping and connecting them appropriately. Finally, reassemble the bumper, headlights, and grille. by ScegliAuto More videos
|
|
For advertising on this site Write to info@scegliauto.com
ScegliAuto is not responsible for any inaccuracy of the data in the lists. To report any inaccuracy or your business (if you own the business in question), please write to info@scegliauto.com
Number of seconds to generate the page: 0.100
(c) ScegliAuto 2026 - info@scegliauto.com - Privacy policy VAT number: IT01247470535 |