
|
Do it yourself
| |||
| ||||


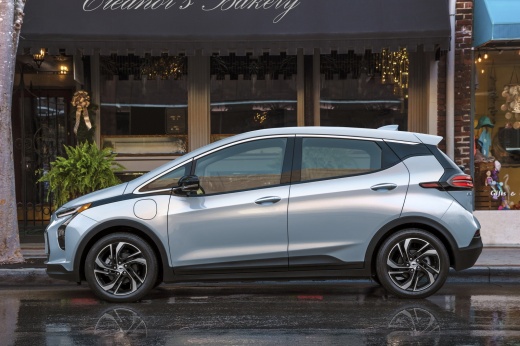
How to Install a Charging Station in Your Garage for the Chevrolet Bolt EV
Model: Chevrolet Bolt Ev
MK 1
- Years:
2017, 2018, 2019, 2020, 2021, 2022, 2023, 2024
Video tutorial
Watch an interesting video on how to install a charger for your electric vehicle. This is not something everyone can do because you need to have your own garage and the ability to install such a device, or a charging station - perhaps more practical for our brick and concrete homes - which would still be a great idea. The device described is the Siemens US2 CV30GRYHW VersiCharge Wired 240 Volts. Currently, it does not show a price on Amazon, which suggests it may be temporarily unavailable. However, there are similar products that cost just under $400. For the installation, a small project was made, easily taking power from the nearby electrical cabinet. If this option is not available, remember that this involves high voltage electricity, which should never be taken lightly. If all the conditions are met (proximity, ease of execution, materials, and skills), you can give it a try. Achieving a good result like the one in the video. Otherwise, if you want to have charging in your garage, it is advisable to rely on a good professional.
Updated on 5 August 2026 by ScegliAuto
Related tutorials
Chevrolet Bolt Ev
(2017-2024 /
MK 1)
In this video, we will show you how to protect the charging port of the Chevrolet Bolt EV from rain. Take a clear plastic box similar in size to what…
Chevrolet Bolt Ev
(2017-2024 /
MK 1)
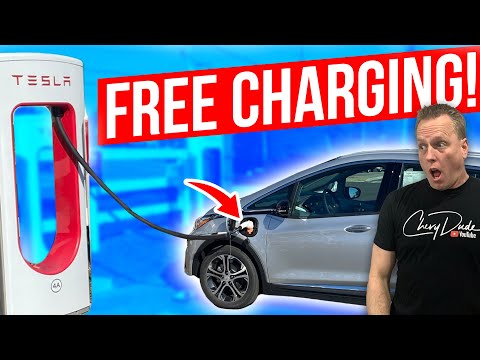
In this video tutorial, you can see how to charge the Chevrolet Bolt EV. The Chevrolet Bolt EV has three types of chargers available. The cable comes…

Chevrolet Bolt Ev
(2017-2024 /
MK 1)
In this guide, you will learn how to remove and replace the traction battery of the Chevrolet Bolt EV. First, raise the vehicle and start removing th…
Other guides you may be interested in |
How to Remove the Rear Seat of a Hyundai Tucson?
To remove the rear seat of a Hyundai Tucson, follow these steps. Start by moving the front seats to their most forward position to gain space. Next, locate the release lever on the underside of the rear seat, near the floor. Press this lever down while pulling the seat upwards to unlock it from the anchor pins. Once unlocked, tilt the seat upwards and forwards to remove it from its position. Repeat this process for both sides of the rear seat. Be careful of any electrical cables or components that may be connected to the seat during removal. Once the rear seat is removed, the disassembly is complete. by ScegliAuto More videos
|
|
For advertising on this site Write to info@scegliauto.com
ScegliAuto is not responsible for any inaccuracy of the data in the lists. To report any inaccuracy or your business (if you own the business in question), please write to info@scegliauto.com
Number of seconds to generate the page: 0.009
(c) ScegliAuto 2026 - info@scegliauto.com - Privacy policy VAT number: IT01247470535 |
