
|
Do it yourself
| |||
| ||||


How to change the battery of a Citroen C3
Model: Citroen C3
FC, FN
- Years 2002-2009
In this video, we will see how to change the battery of a Citroen C3: we open the hood and see the battery on the right side of the engine compartment. We open the protective cover on the battery itself; on the left side of the battery, we find the control unit, which we will need to move to the side to allow the battery to be removed. Now we can disconnect the black negative terminal, which we will move to a position that makes it impossible to accidentally reconnect to the pole. Then we also disconnect the red positive terminal, and then take the battery by the handle and remove it from its housing. We sand the terminals with sandpaper to remove any white oxide deposits; we apply copper grease to the terminals of the new battery and then insert it in place. We connect the positive terminal first, then the negative one, put back the control unit and then the plastic battery cover, and we have finished our work.
Posted on 18 February 2025 by ScegliAuto
Video tutorial
Related tutorials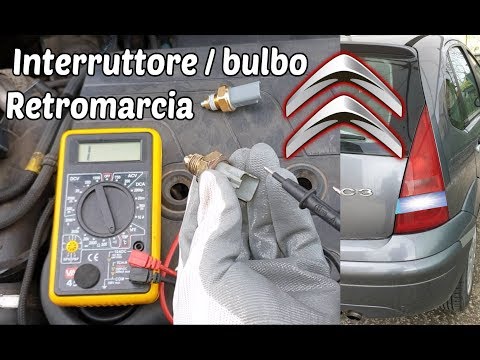
Citroen C3
(2002-2009 /
FC, FN)
How to change the reverse switch on a Citroen C3? Enter the cabin; put the gearbox in neutral and proceed to work in the engine bay. Open and lift th…

Citroen C3
(2002-2009 /
FC, FN)
The fuse box of the Citroen C3 in the engine compartment is located behind the battery near the headlamp; to access the fuses, remove the cover by mo…

Citroen C3
(2003-2010 /
Pluriel)
Changing the battery in the remote of a Citroen C3 is straightforward, so follow the instructions in this video whenever you notice your key is not f…
Other guides you may be interested in
|
How to Open the Bonnet on the Lancia Y
To open the bonnet on this vehicle, follow these simple instructions: first, open the driver's door and locate the lever positioned just below the dashboard, marked with an image of the vehicle with the bonnet open. Pull this lever towards you until you hear a "click" indicating the bonnet is released. Next, exit the cabin and stand in front of the bonnet to disengage the safety catch and complete the opening. To do this, slightly lift the bonnet, locate the yellow lever underneath, and pull it to the left to fully release and open the bonnet. by ScegliAuto More videos
|
|
For advertising on this site Write to info@scegliauto.com
ScegliAuto is not responsible for any inaccuracy of the data in the lists. To report any inaccuracy or your business (if you own the business in question), please write to info@scegliauto.com
Number of seconds to generate the page: 0.180
(c) ScegliAuto 2026 - info@scegliauto.com - Privacy policy VAT number: IT01247470535 |
