
|
Do it yourself
| |||
| ||||


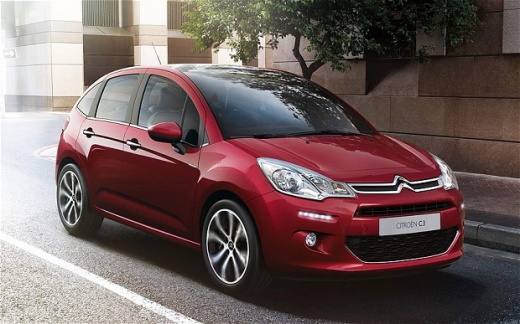
How to replace front discs and pads on the Citroen C3
Model: Citroen C3
SC
- Years:
2009, 2010, 2011, 2012, 2013, 2014, 2015, 2016
Video tutorial
In this video, we will see how to replace the front discs and pads on the Citroen C3: we open the brake fluid cap, lift the front of the vehicle and remove the front wheels; we turn the disc outwards, insert a screwdriver into the front of the caliper and lever to retract the piston. Make sure it is retracted as much as possible before moving on to the next step, which is to unlock the caliper bolts. Remove the caliper and tie it with a piece of rope to prevent damage to the brake hose. Remove the pads and check the sliding of the bolts in the caliper, then remove the disc fixing bolts, which may be stuck inside. It may be necessary to unlock it with a hammer. Clean the hub with a wire brush. Before installing the new disc, it is necessary to clean it with a specific detergent, fix it with its bolts, reassemble the cover, bearings and then the new pads. It's time to reattach the caliper and secure it with the bolts. We can put the wheels back on and replace the brake fluid cap.
Posted on 15 April 2025 by ScegliAuto
Related tutorials
Citroen C3
(2002-2009 /
FC, FN)
In this guide we will see the instructions that will allow us to disassemble and replace the clutch discs of the Citroen C3 1.4 HDI. First of all, we…

Citroen C3
(2002-2009 /
FC, FN)
In this tutorial video, learn how to replace the brake pads on a first-generation Citroen C3, produced from 2002 to 2009. First, lift the car and rem…

Citroen C3
(2003-2010 /
Pluriel)
With the wheel removed, work begins on the caliper of the Citroen C3: the fastenings are released and the caliper is moved just enough to slide the o…
Other guides you may be interested in
|
How to Remove the Rear Seat of a Hyundai Tucson?
To remove the rear seat of a Hyundai Tucson, follow these steps. Start by moving the front seats to their most forward position to gain space. Next, locate the release lever on the underside of the rear seat, near the floor. Press this lever down while pulling the seat upwards to unlock it from the anchor pins. Once unlocked, tilt the seat upwards and forwards to remove it from its position. Repeat this process for both sides of the rear seat. Be careful of any electrical cables or components that may be connected to the seat during removal. Once the rear seat is removed, the disassembly is complete. by ScegliAuto More videos
|
|
For advertising on this site Write to info@scegliauto.com
ScegliAuto is not responsible for any inaccuracy of the data in the lists. To report any inaccuracy or your business (if you own the business in question), please write to info@scegliauto.com
Number of seconds to generate the page: 0.021
(c) ScegliAuto 2026 - info@scegliauto.com - Privacy policy VAT number: IT01247470535 |
