
|
Do it yourself
| |||
| ||||



How to Replace the Thermostat on the Citroen Berlingo
Model: Citroen Berlingo
MK 2
- Years:
2008, 2009, 2010, 2011, 2012, 2013, 2014, 2015, 2016, 2017, 2018
Video tutorial
Today, you will learn how to independently replace the thermostat on the Citroen Berlingo. It is important to ensure that the engine is completely cold before starting the replacement, and for safety, disconnect the negative terminal of the battery. Position a container under the radiator or the lowest point of the cooling circuit. Open the radiator cap and allow the air to escape, then open the drain plug and disconnect the lower hose to let the fluid drain into the container. The thermostat is located at the end of the upper hose of the radiator connected to the engine block; to remove it, you need to unscrew the bolts securing the cover. After removing the thermostat, clean the surface of any rust residue. Insert the new thermostat in the same position and apply a new gasket before closing the cover and tightening the bolts. Reconnect the hose and fill the circuit with new coolant. Start the engine and let it run to warm up, allowing air to escape from the hose and add fluid if the level drops; check for any leaks from the engine.
Posted on 8 July 2026 by ScegliAuto
Related tutorials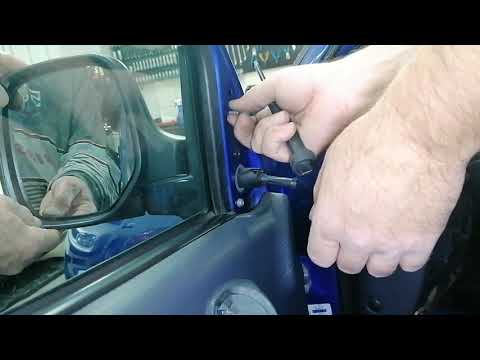
Citroen Berlingo
(1996-2013 /
MK 1)
Before you can start, open the front door of your Citroen Berlingo. Start by unfastening and removing the inner cover located near the wing mirror. B…

Citroen Berlingo
(2018-2026 /
MK 3)
On the Citroen Berlingo, the maintenance interval reset is performed with the engine off. With the Citroen Berlingo stationary, press and hold the "0…

Citroen Berlingo
(2008-2018 /
MK 2)
In this brief guide, you will find instructions to remove and replace the diesel filter on the Citroen Berlingo 1.6 HDI. First, open the bonnet of th…
Other guides you may be interested in
|
How to Remove the Rear Seat of a Hyundai Tucson?
To remove the rear seat of a Hyundai Tucson, follow these steps. Start by moving the front seats to their most forward position to gain space. Next, locate the release lever on the underside of the rear seat, near the floor. Press this lever down while pulling the seat upwards to unlock it from the anchor pins. Once unlocked, tilt the seat upwards and forwards to remove it from its position. Repeat this process for both sides of the rear seat. Be careful of any electrical cables or components that may be connected to the seat during removal. Once the rear seat is removed, the disassembly is complete. by ScegliAuto More videos
|
|
For advertising on this site Write to info@scegliauto.com
ScegliAuto is not responsible for any inaccuracy of the data in the lists. To report any inaccuracy or your business (if you own the business in question), please write to info@scegliauto.com
Number of seconds to generate the page: 0.058
(c) ScegliAuto 2026 - info@scegliauto.com - Privacy policy VAT number: IT01247470535 |
