
|
Do it yourself
| |||
| ||||


Replacement of Remote Key Cover
Model: Citroen C3
FC, FN
- Years 2002-2009
A common issue is the damage to the key cover. Fortunately, it is quite simple to find replacement parts online to restore it effectively and economically compared to buying a new key. First, remove the screw securing the metal part of the key (blade) and take it out of the cover. Then, separate the two halves and extract the printed circuit board with the battery. Next, place the circuit board into the corresponding slot of the new cover, align it with the other half until they fit together correctly, reinsert the blade, and tighten the securing screw. If the engine does not start, it is likely that the transponder is located in the blade support cover. In this case, use the original one, which also features the logo, and only replace the part with the buttons.
Updated on 11 February 2026 by ScegliAuto
Video tutorial
Related tutorials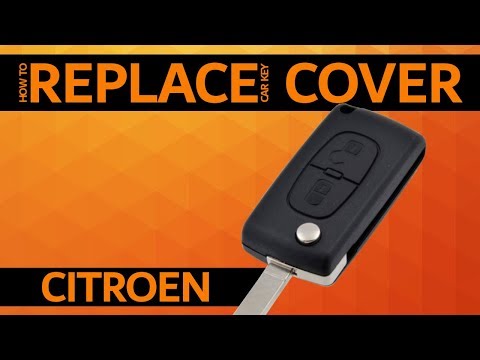
Citroen C3
(2002-2009 /
FC, FN)
Learn how to replace the cover of the key fob on a Citroen C3. Take your key fob and press the release button of the metal key. Once the metal key is…
Citroen C3
(2002-2009 /
FC, FN)
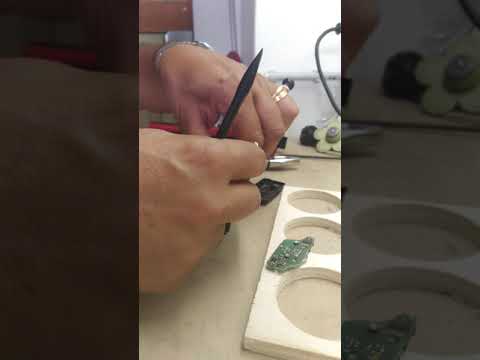
Learn how to replace the battery in the key fob of a Citroen C3. Take your key fob and press the release button of the metal key. Once the metal key …

Citroen C3
(2002-2009 /
FC, FN)
How to replace the key fob battery of a Citroen C3? This video details the process. Take your key fob and press the button to release the metal key. …
Other guides you may be interested in
|
Frequently Asked QuestionsHow to Check the Oil Level on a Jeep Renegade?
To check the oil level on a Jeep Renegade, you need to open the bonnet to access the components inside the engine bay: on the lower left side of the engine block, you will find the dipstick for checking the level. This should be pulled out and thoroughly cleaned with a cloth: once cleaned, reinsert it back into its tube and pull it out immediately after. This way, you can check that the oil mark is between the minimum and maximum levels; finally, you can place the dipstick back in its tube. by ScegliAuto More videos
|
|
For advertising on this site Write to info@scegliauto.com
ScegliAuto is not responsible for any inaccuracy of the data in the lists. To report any inaccuracy or your business (if you own the business in question), please write to info@scegliauto.com
Number of seconds to generate the page: 0.254
(c) ScegliAuto 2026 - info@scegliauto.com - Privacy policy VAT number: IT01247470535 |
