
|
Do it yourself
| |||
| ||||


How to repair the rear tailgate molding of a Citroen C4
Model: Citroen C4
MK 1
- Years 2004-2010
We can see in this video how to solve the problem of the rear molding of the Citroen C4 that has become loose. The main reason is that there are two screws in the lock that have loosened and need to be tightened; by slamming the tailgate forcefully, the misaligned hinge caused the molding to become misaligned. Once the two screws are properly tightened, we can consider finding the piece from a scrapyard or repairing the existing one; first of all, we remove the inner lining panel of the tailgate, extracting the two large plastic screws, then we remove the fixing screws from the handle recess. Then we extract the plastic fixing buttons and finally remove the bolts that hold the molding in place. Inside the molding, we see that the original supports had crumbled due to the strong slamming of the tailgate; they were glued back together, replaced with appropriately sized pieces of plastic, and then tightened with clamps. We then put the molding back in place and close up all the lining, and the job is done.
Posted on 11 June 2024 by ScegliAuto
Video tutorial
Related tutorials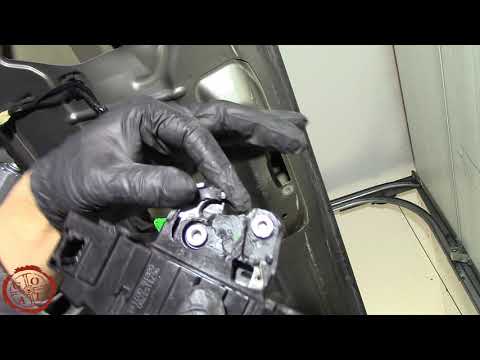
Citroen C4
(2004-2010 /
MK 1)
This guide provides the main instructions for removing and replacing the tailgate lock on the Citroen C4. First, open the boot and start removing the…
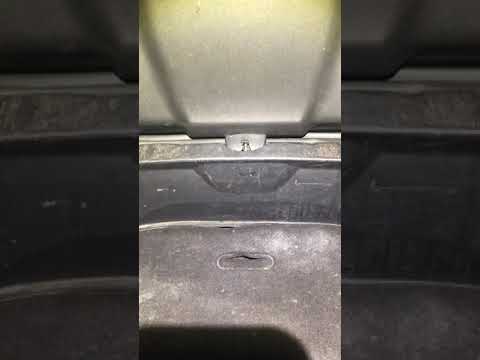
Citroen C4
(2004-2010 /
MK 1)
In this short and simple guide, learn how to open the stuck tailgate on the first-generation Citroen C4 from 2005, as well as on most models from the…

Citroen C4
(2004-2010 /
MK 1)
Today we will see the instructions that will allow us to disassemble and replace the trunk lock of the Citroen C4. First, we open the rear hatch of t…
Other guides you may be interested in
|
How to Replace the Battery on a Honda Vision 110
To replace the battery on a Honda Vision 110, you need to remove the front fairing of the motorcycle, located directly under the front headlamp. To loosen this panel, unscrew the two screws found at its top, just below the handlebar. Once these screws are loosened, lever under the panel to detach it, gaining access to the battery underneath: this battery must be removed from its housing by unscrewing the fixing screws and disconnecting the power cables, replacing it with a new one. by ScegliAuto More videos
|

|
For advertising on this site Write to info@scegliauto.com
ScegliAuto is not responsible for any inaccuracy of the data in the lists. To report any inaccuracy or your business (if you own the business in question), please write to info@scegliauto.com
Number of seconds to generate the page: 0.333
(c) ScegliAuto 2026 - info@scegliauto.com - Privacy policy VAT number: IT01247470535 |
